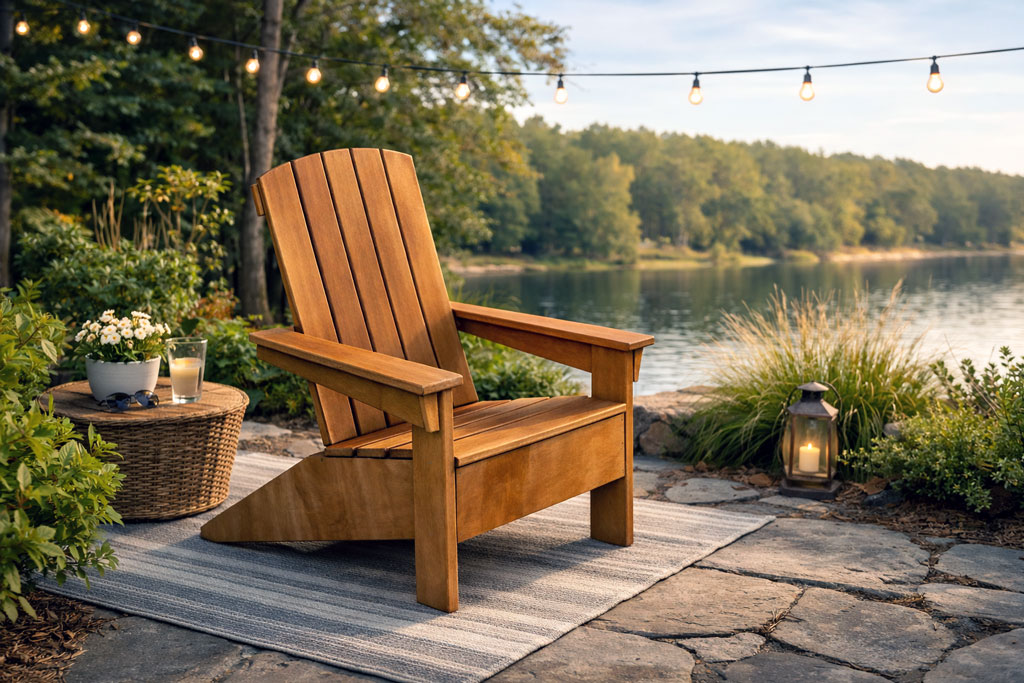
This diy step by step article is about free adirondack chair plans. In this article, we show you plans for building a basic woodworking adirondack chair. If you want to get the job done in a professional manner, we strongly recommend you to pay attention to the instructions described in the diagram. Add glue to the joints and align everything with great care at both ends.
In order to obtain a neat appearance, there are a few tricks you should know before starting your project. Therefore, you should countersink the head of the screws anytime it’s possible, otherwise we recommend you to toenail the wooden components. The basic idea is that the joints and the screws shouldn’t be visible, therefore you have to apply wood putty over the holes and smooth the surface with medium grit sandpaper.
Align the components properly before securing them with screws, otherwise you won’t get a symmetrical look. It is also important to buy quality lumber, making sure the slats are in a good shape, without cracks, twists or holes. After you build the adirondack chair, it is essential to round the exposed edges with a router and a 1/4” bit, otherwise you could injure yourself in the sharp edges. In addition, use a sander along the wood grain, to obtain a smooth surface. See all my Premium Plans in the Shop.
Made from this plan
How to build an adirondack chair

Building an adirondack chair
Materials
- A – 2 pieces of 1×8 lumber – 33″ long SIDE LEGS
- B – 1 piece of 1×4 lumber – 22″ long CHAIR FRAME
- C – 2 pieces of 1×4 lumber – 20 3/4″ long FRONT LEGS
- D – 5 pieces of 1×4 lumber – 22″ long SEAT
- E – 5 pieces of 1×4 lumber – 32″ long, 2 piece of 1×3 lumber – 23 1/2″ long, 1 piece of 2×2 lumber – 23 1/2″ long BACKREST
- F – 2 pieces of 1×4 lumber – 23 1/4″ long, 2 pieces – 1 1/2″ long, 2 pieces – 24 1/2″ long ARMREST
Tools
- Safety gloves, glasses, Miter saw, jig saw
- Chalk line, tape measure, spirit level, carpentry pencil
- Drill machinery and drill bits
- Router and 1/4” bit
Tips
- Smooth the edges of the wooden boards, with a router
- Pre-drill holes in the wooden components, before driving in the screws
- Countersink the head of the screws
- Align the components before locking them into place
- Don’t use lumber that is likely to crack or shrink
- Don’t over-tighten the screws to prevent the wood from splitting
Building an adirondack chair

Building side legs
The first step of the woodworking project is to build the sides of the adirondack chair. If you want to get a professional manner, we recommend you to mark the cut lines on the 1×8 slats, as described in the diagram. Use a circular saw to make the cuts and smooth the edges before going to the next step.

Installing the front support
The next step of the woodworking project is to lock the sides together, as described in the diagram. Drill pilot holes along the side of the front components and insert 1 1/4″ screws into the legs. Leave no gaps between the components and make sure the corners are right-angled. Add glue to the joints and remove the excess by using a damp cloth.

Attaching the front legs
Continue the woodworking project by attaching the front legs to the structure. Plumb the 1×4 legs with a spirit level, drill pilot holes and insert 1 1/4″ screws into the frame of the chair.

Fitting the seat slats
The next step of the woodworking project is to build the seat of the adirondack chair. In order to get a professional result, we recommend you to cut the seat slats out of 1×4 lumber at the right size. Drill pilot holes through the slats and secure them to the frame of the chair by using 1 1/4″ screws. Add glue to the joints and remove the excess by using a damp cloth.

Building the backrest
Building the backrest of the chair is a straight-forward process, but you need to pay attention to several aspects before getting the job done. Lay the 1×4 slats on a level surface and attach the 1×3 supports, as described in the diagram. Drill pilot holes before securing the supports to the backrest slats, in order to get a professional result. Add glue to the joints and remove the excess with a damp cloth. Mark the curved cut line on top of the slats and get the job done with a jigsaw. Place the slats equally-spaced, in order to get a professional result.

Fitting the backrest
Fit the backrest into place and secure it to the structure by using galvanized screws. Add glue to the joints and make sure everything is locked together properly. Attach a 2×2 support to the backrest and drill pocket holes at both ends. Insert 1 1/4″ screws into the armrest supports and leave no gaps between the components.

Fitting the armrest supports
Next, attach the armrest support to the frame of the structure, as described in the diagram. Drill pilot holes through the supports and insert 1 1/4″ screws into the front legs and into the support of the backrest. Place a spirit level on top of the armrest support, in order to make sure it is horizontal.

Fitting the armrests
One of the last steps of the woodworking project is to attach 1×4 armrests into place. Smooth the cut edges with sandpaper and remove the residues with a vacuum cleaner. Align the armrests with great care and secure them to the supports by using 1 1/4″ screws.

Fitting the armrest trims
If you want to enhance the look of the adirondack chair, we recommend you to build simple trims and to attach them to the armrest, as described in the image. Drill pocket holes along the side and top edges and insert 1 1/4″ screws into the adjacent components. Add glue to create a rigid bond between the components.

How to build an adirondack chair
After you build the adirondack chair, using our free plans, you should finish the wooden surface in a professional manner. Therefore, you should use an orbital sander to smooth the hard edges and the rest of the components.
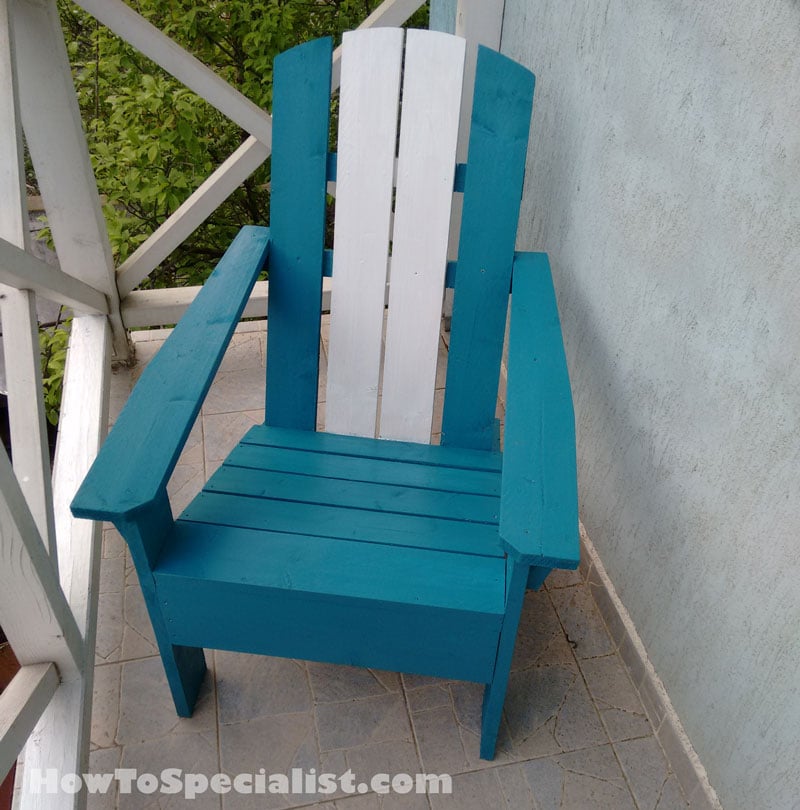
How to build adirondack chairs
Make sure you check out my step by step tutorial about building this wood adirondack chair. Step by step instructions here.

Thank you for reading our article about how to build an adirondack chair and we recommend you to check out the rest of our projects. Don’t forget to LIKE and SHARE our plans with your friends, by using the social media widgets.
1 comment
Unfortunate a material list unavailable covering number and type of screws as well as overall length of individual pieces. Raise questions of competence of writer and editors. Do you actually follow your instructions building a piece?