This step by step diy project is about how to build wooden adirondack chairs. If you want to learn more about building a simple adirondack chair, pay attention to the instructions shown in this tutorial. This project is ideal for any backyard, as it creates a cozy area for relaxation during the summer days. You can see the full plans along with a cut list here.
You should always plan everything from the very beginning, in order to prevent costly mistakes and to save time. If this is your first project, you need a friend to give you a hand when assembling the wood adirondack chair. Invest in high quality lumber and plywood, as the components will be exposed to bad weather. Protect the components with appropriate paint or stain.
There are a few tips that you should take into account, if you want to get a professional result. Therefore, take accurate measurements and use professional tools when making the cuts or when drilling pilot holes. Align the components at both ends and add waterproof glue to the joints, if you want to create a rigid structure.
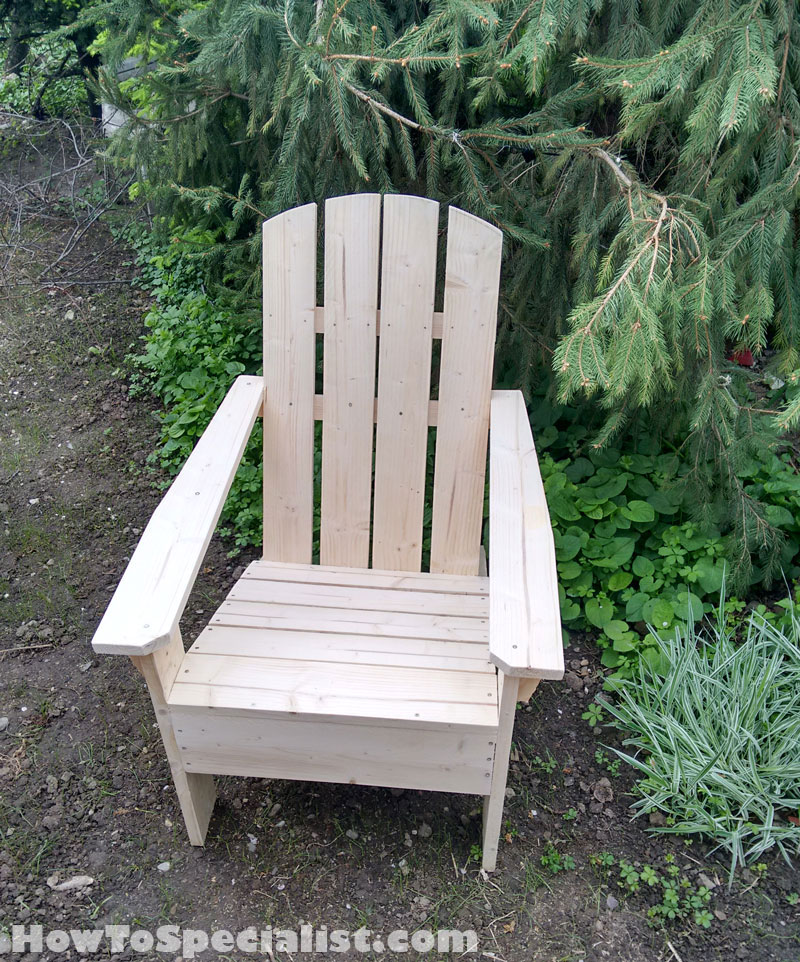
Made from this plan
It’s that easy to build an adirondack chair!
How to build adirondack chairs

Buiding an adirondack chair
See here the free plans for this super simple adirondack chair. The plans come with a detailed list of the materials needed for the project.
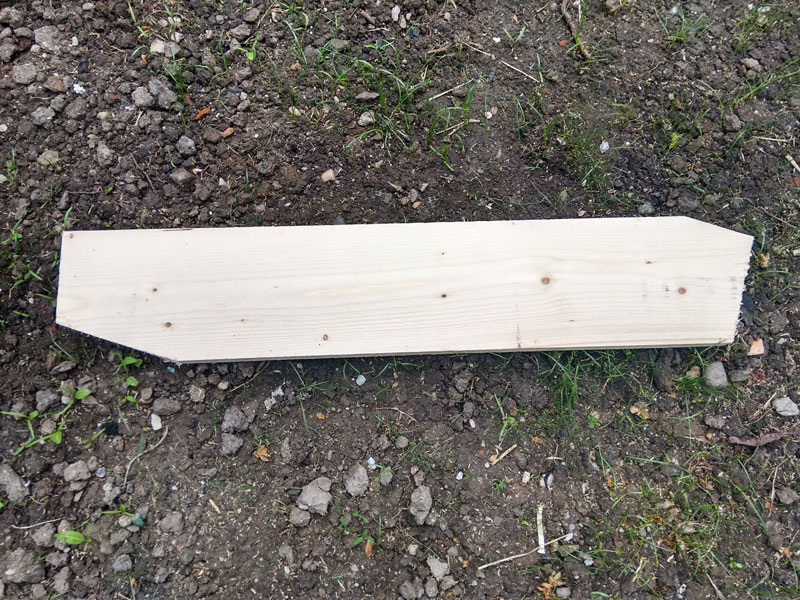
Building the back legs for the adirondack chair
The first step of the woodworking project is to build the back legs for the adirondack chair. Mark the cut lines on the 1×8 slats and get the job done with a saw. Smooth the edges with sandpaper before continuing the woodworking project.
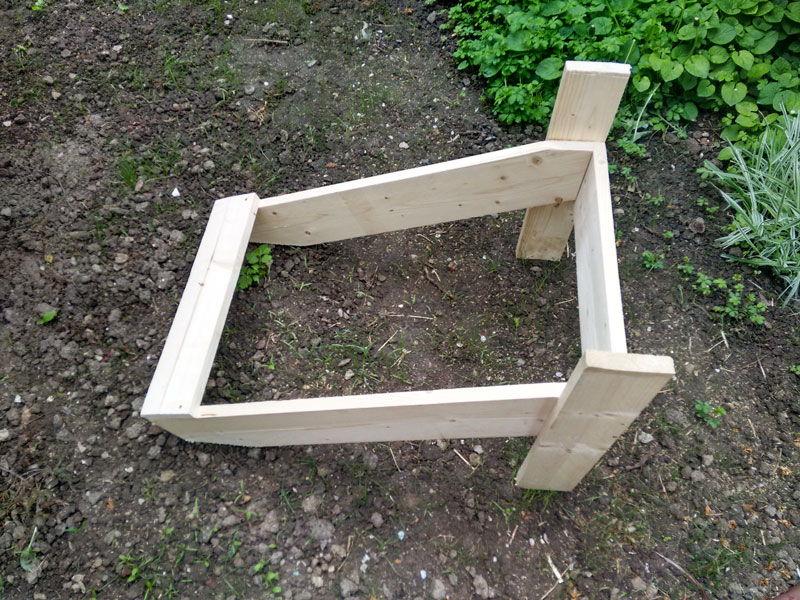
Assembling the seat frame
Next, you need to attach the front legs to the back legs, as well as the front apron. Drill pilot holes through the front apron and insert 1 1/4″ screws into the back legs. Leave no gaps between the components and make sure the corners are square. Add glue to the joints to create a strong bond.
Fit a temporarily support to the back of the adirondack chair, as shown in the diagram. Attach the front legs to the seat frame. Make sure the legs are plumb and clamp them together tightly. Add glue to the joints and insert 1 1/4″ screws from the inside of the frame into the legs.
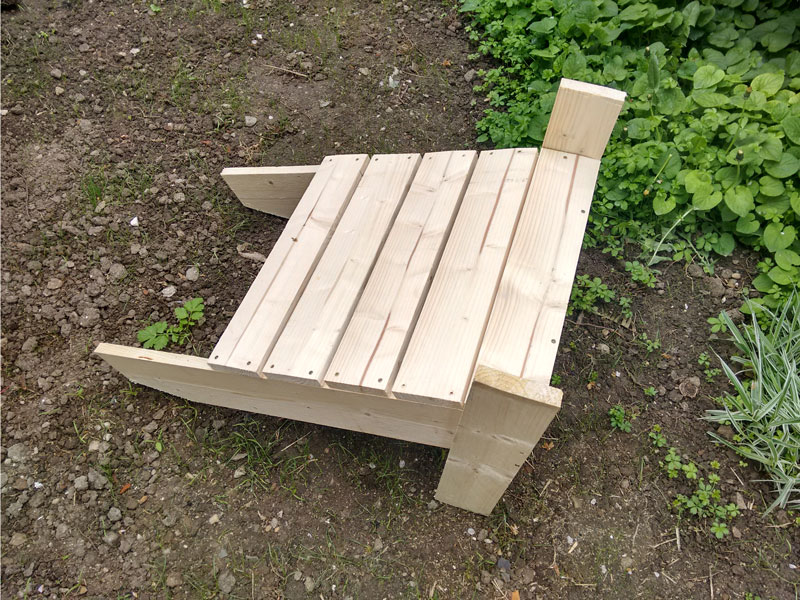
Attaching the seat frame
Next, you need to attach the rest of the slat to the seat frame. Place a piece of 1/2″ plywood between the slats, if you want to get consistent gaps between the components. Drill pilot holes at both ends of the slats and insert 1 1/4″ screws into the seat frame.
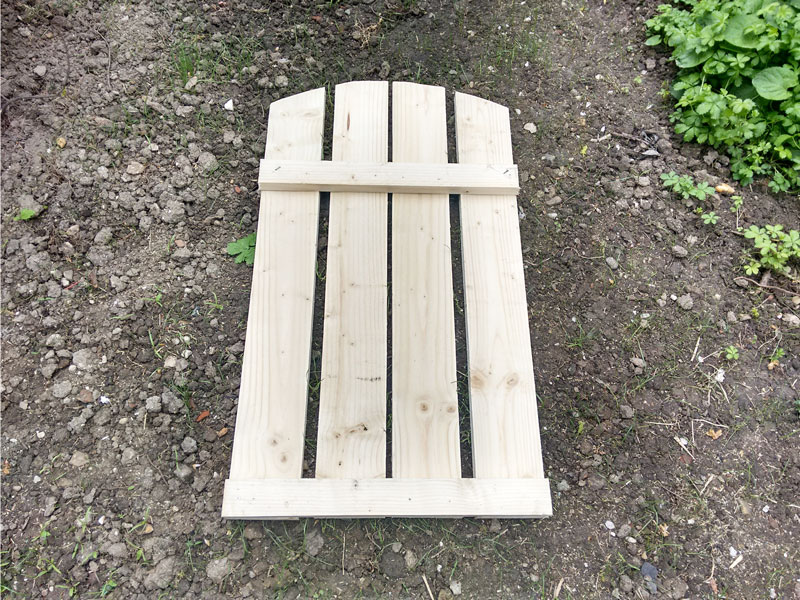
Building the backrest
Continue the project by assembling the backrest for the adirondack chair. I used 1×3 slats to secure the slats together. In addition, i rounded the top of the backrest using a jigsaw. Next, I smoothed the edges with 120-grit sandpaper. Drill pilot holes through the supports and insert 1 1/4″ screws into the vertical slats. Place the slats equally-spaced or as in the image. It is a matter of personal tastes.

Attaching the backrest
Attach the backrest to the seat of the adirondack chair. As you can notice in the image, I attached 1×3 supports to the front legs, that hold the backrest into place. You can adjust the lean of the backrest to suit your needs. Fit another 1×3 support to the backrest in order to lock together the side supports. Insert 1 1/4″ screws to create strong joints. In addition, insert screws through the back leg into the bottom backrest cleat. Make sure the whole structure is assembled tightly before continuing the adirondack project.
Building an adirondack chair
Build the armrests out of 1×6 lumber. As you can easily notice in the diagram, I made a few decorative cuts to the components. Smooth the edges thoroughly with 120-grit sandpaper and fit them to the supports, as shown in the image. Drill pilot holes and secure the armrests to the supports using 1 1/4″ screws. Add glue to the joints and remove the excess.

Adirondack chair plans free
Use 120-150 grit sandpaper to smooth the edges and the slats. Afterwards, cover the components with wood preservative to protect the wood against decay or molds. After the wood has soaked the preservative, we recommend you to cover the components with paint or stain.
Free adirondack chair plans
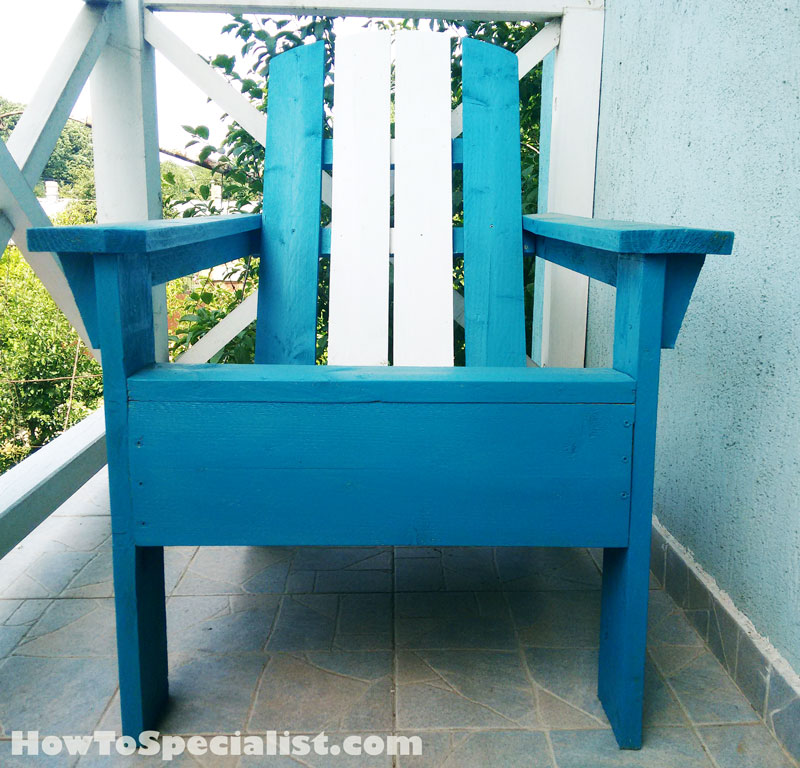
The adirondack chair turned out pretty nice. I used two colors to paint the wooden garden chair.

How to build adirondack chairs
If you want to build this adirondack, see the step by step plans with detailed measurements here. I hope you enjoy the plans and this step by step tutorial, as well.

I would love to hear your feedback and to see your pins and likes. If you build this adirondack chair don’t forget to send a few pics.
Thank you for reading our project about how to build adirondack chairs and we recommend you to check out the rest of the projects. Don’t forget to SHARE and LIKE our projects with your friends, by using the social media widgets, if you want to help us keep adding free woodworking plans.
2 comments
Beautiful projects
You guys are clever man