This step by step diy project is about how to build a computer desk. If you need a small desk for your study room but you haven’t found yet a design that suits your needs, we recommend you to pay attention to these free plans. Don’t forget to take a look over the rest of the related projects featured on our website, as there are many ideas that you use to improve your home.
Irrespective of what materials and design you are going to use, we recommend you to plan every step from the very beginning. Therefore, make a detailed sketch of the desk along with all the materials and tools required for the job. Afterwards, gather all the tools required for the project and cut the components at the right dimensions. Start the assembly making sure you follow the instructions described in the article.
Installing the top of the desk is a straight forward project, if you use proper materials for the job. Therefore, use a 2’x4′ pine project panel as it will save you from a complex and costly work. Always pre-drill the components before inserting the screws into place, to prevent the wood from splitting. Moreover, it is essential to drill pocket holes if you want to conceal the joints. See all my Premium Plans in the Shop.
Made from this plan
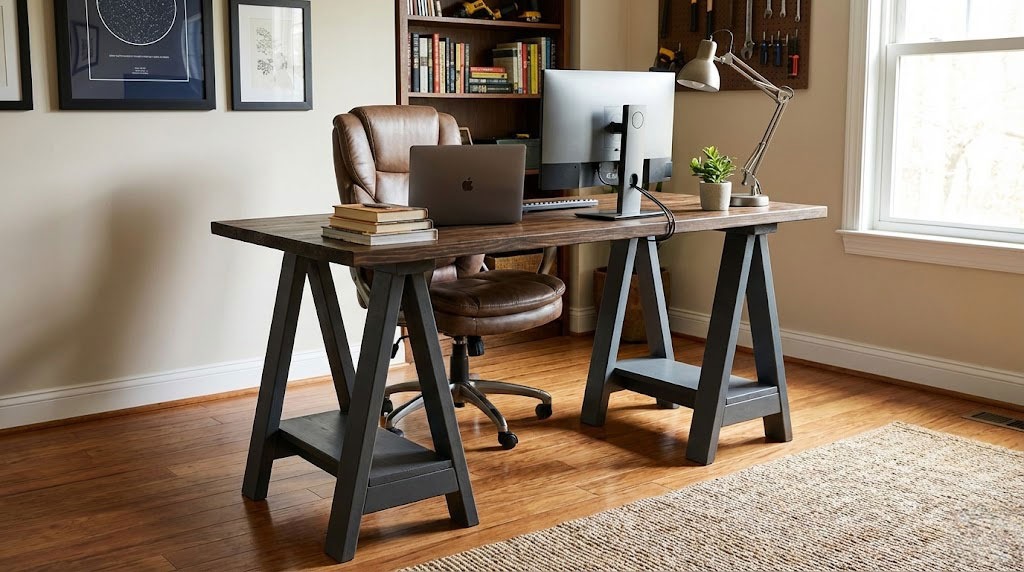
How to build a computer desk

Building a computer desk
Materials
- A – 4 pieces of 2×4 lumber – 27 3/4” long LEGS
- B – 4 pieces of 2×4 lumber – 8 1/2” long, 2 pieces – 17″ long FRAME
- C – 2 pieces of 2×4 lumber – 24″ long, 1 piece – 37″ long SUPPORT
- D – 1 piece of 3/4″ pine – project panel – 24″x48″ TABLETOP
- 1 piece of 3/4″ pine – 2’x4′
- 3 pieces of 2×4 lumber – 8 ft
- 2 1/2″ screws
- 1 1/4″ screws
- glue, stain
- wood filler
Tools
- Safety gloves, glasses
- Miter saw, jigsaw
- Chalk line, tape measure, spirit level, carpentry pencil
- Drill machinery and drill bits
Tips
- Apply several coats of wood stain to the wooden components
- Fill the holes with wood filler and smooth the surface
Time
- One Day
Related
Building a computer desk

Building the legs of the desk
The first step of the woodworking project is to build the two sawhorses that will support the tabletop. In order to get the job done in a professional manner, we recommend you to attach the legs to the supports, as shown in the plans.
Smart Tip: Cut both ends of the 2×4 legs at 10 degrees and lock them to the 2×4 supports with 2 1/2″ screws. Add waterproof glue to the joints and drill pocket holes through the legs before inserting the screws.

Fitting the braces
The next step of the woodworking project is to fit the braces between the legs of the sawhorses. Therefore, cut the components at the right size and lock them into place as in the image.

Attaching the shelves
Continue the woodworking project by attaching the shelves to the supports. Cut small notches in the 1×8 slats in order to fit into place properly. In addition, lock the sawhorses together by fitting a support at the top. Make sure the sawhorses are placed on a level surface, otherwise the tabletop won’t be installed properly.

Attaching the tabletop
One of the last steps of the project is to attach the pine project panel to frame of the computer desk. Attach the panel to the frame and drive several screws through the supports into the panels. Align the panel at both ends before inserting the screws into the pine panel.

How to build a computer desk
Last but not least, we recommend you to take care of the finishing touches. Fill the holes with wood filler and let it to dry out for several hours. Afterwards, smooth the wooden surface with fine-grit sandpaper and vacuum the residues. Round the edges with fine-grit sandpaper.
Smart Tip: Apply several coats of stain or paint to the wooden components, if you want to protect them from decay and to enhance the look of the arbor bench.
Thank you for reading our project about how to build a computer desk and we recommend you to check out the rest of the projects. Don’t forget to LIKE and SHARE our projects with your friends, by using the social media widgets. SUBSCRIBE if you want to be the first that gets our latest articles.