This step by step diy woodworking project is about how to build a strawberry tower. Building a tower planter for strawberries is a simple project with a powerful impact on the appearance of your garden. Check out all the alternatives before starting the actual construction, as to choose the right plans for your needs. In addition, take a look over the rest of our garden projects, as there are many things that you could add to your property.
There are several ways in which you can make a strawberry planter, including a pyramid-shaped tower or a basic multi-layered planter. While the first alternatives may look more intriguing, the second option is easier to build, even by persons with virtually no experience in the woodworking field. After choosing the design, we recommend you to adjust the size of the tower to your needs and budget.
From our own experience, we recommend you to invest in high-quality materials, such as pine, cedar or redwood, as the components will be durable and have a nice appearance. After making the square planters, we recommend you to check if the corners are square and to fill them with soil. Make sure the layers are centered properly, as it is essential to build a strawberry tower with a symmetrical look. See all my Premium Plans in the Shop.
Made from this plan
Building a strawberry tower

Building a strawberry tower
Materials
- A – 2 pieces of 2×6 lumber – 60” long, 2 pieces – 57″ long FRAME
- B – 2 pieces of 2×6 lumber – 47” long, 2 pieces – 44″ long FRAME
- C – 2 pieces of 2×6 lumber – 34” long, 2 pieces – 31″ long FRAME
- D – 2 pieces of 2×6 lumber – 21” long, 2 pieces – 18″ long FRAME
- E – 2 pieces of 2×6 lumber – 8” long, 2 pieces – 5″ long FRAME
- F – 16 pieces of 2×2 lumber – 12″ long SUPPORTS
Tools
- Safety gloves, glasses
- Miter saw, jigsaw
- Chalk line, tape measure, spirit level, carpentry pencil
- Drill machinery and drill bits
Tips
- Apply several coats of wood stain to the wooden components
- Fill the holes with wood filler and smooth the surface
- Plumb the sides of the bench with a spirit level
Time
- One Day
Related
How to build a strawberry tower

Building the base frame
The first step of the woodworking project is to build the frame of the base planter. As you can see in the image, you need to build the square frame using 2×6 lumber and galvanized screws. Check if the corners are right-angled before drilling pilot holes and inserting the wood screws. Use 2×2 posts to add support to the frame and to lock it into place properly.

Building the frame of the tower
Fill the planter with soil and level it thoroughly. Center the second planter on the soil and check if it is perfectly horizontal. Use 2×2 lumber to anchor the second planter into place. Work with attention and with great care, otherwise the strawberry won’t have a professional appearance.

Building the strawberry tower
Continue the garden project in the same manner described above. Therefore, build another frame in the same manner described above and place over the soil. It is essential to fill the planters with quality soil and to compact it lightly.

Assembling the frame
Install the forth planter by using the instructions stated above. Work with attention and build the square planters from quality lumber.

Installing the top planter
One of the last step of the project is to build the to planter and to lay it over the previous layer. Make sure the planter is centered, before filling it with soil and before planting the strawberries.

How to build a strawberry tower
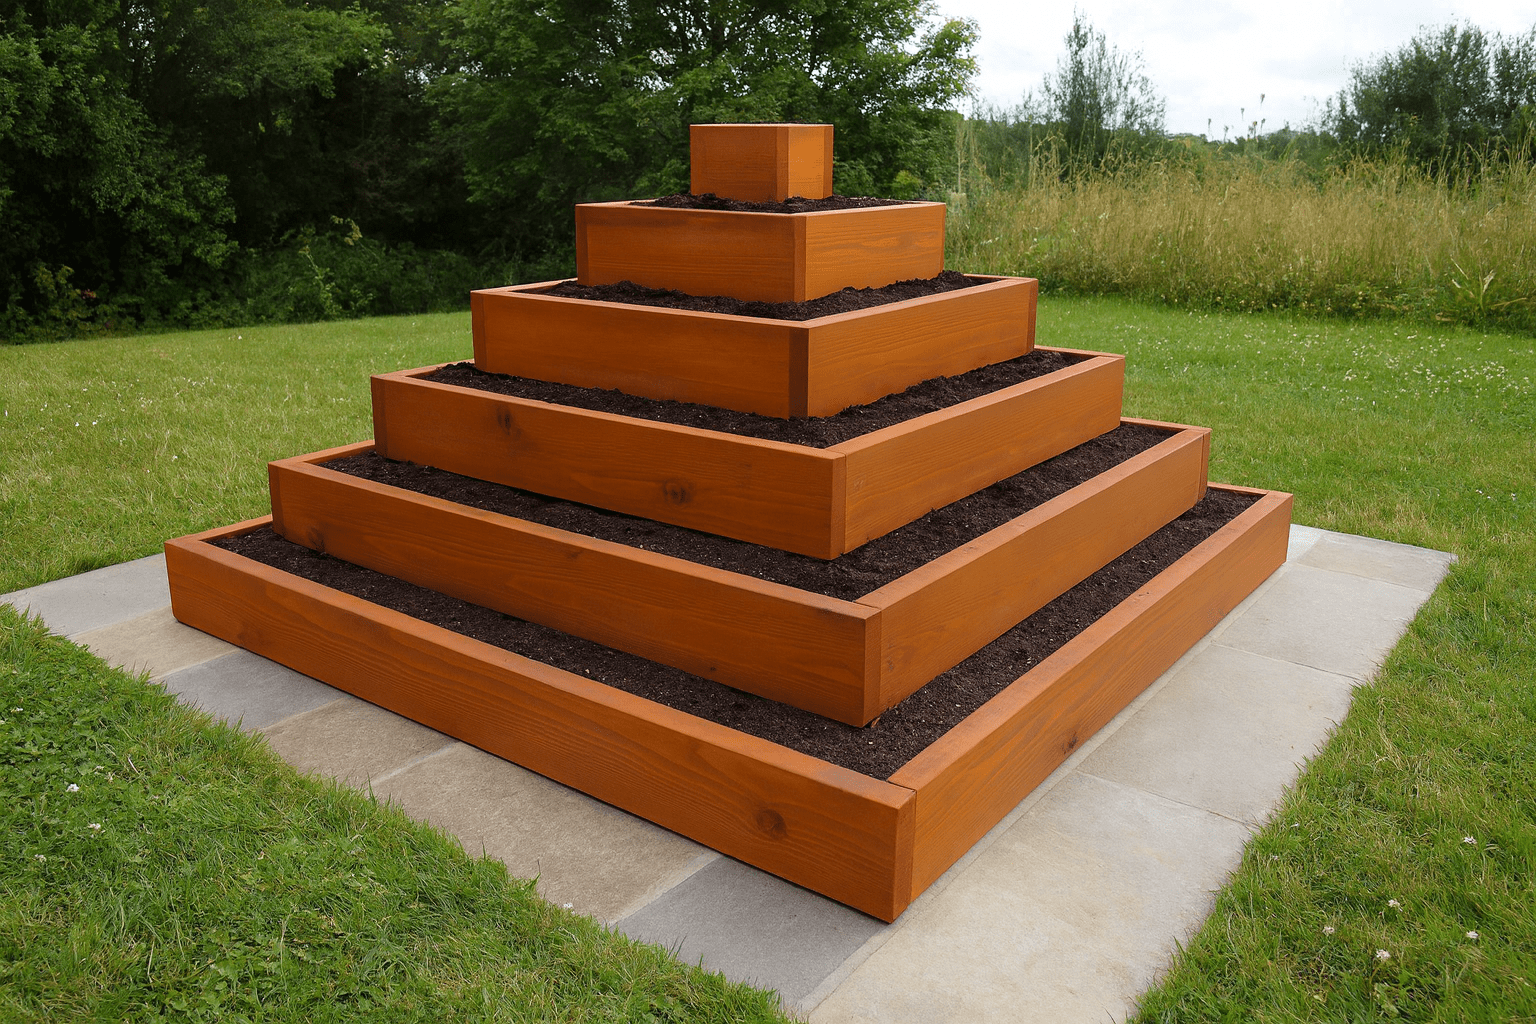
Last but not least, we recommend you to take care of the finishing touches. Therefore, we recommend you to fill the holes with putty and to smooth the wooden surfaces with fine-grit sandpaper.

Thank you for reading our project about how to build a strawberry planter and we recommend you to check out the rest of the projects. Don’t forget to LIKE and SHARE our projects with your friends, by using the social media widgets. SUBSCRIBE to be the first that gets our latest projects.