This article is about birdhouse plans free. Building a decorative birdhouse is a fun project and you can both use your skills and make something useful out of wood together with your kids. If you don’t have a large backyard, you can still use our birdhouse free plans and decorate your house. In order to get the job done as a professional, you need a few tools and a quality wooden board. The raw materials together with the energy used by tools will cost about 5 dollars, while the steps will take about one hour, therefore you should consider this woodworking project. We recommend you to design the simple birdhouse from the very beginning, and we recommend you to take a look over our free plans.
In order to build the birdhouse, you need a 6” wide 1” thick wooden board, which should be in a good condition and not treated with toxic substances. In some case, you can even reuse waste materials, if you want to get a rustic look. Irrespective of your choice, select the boards with great care, making sure they are perfectly straight and have the same thickness over the whole surface.
The only tools you need to build the birdhouse are a hammer, a drill machinery, a hole saw and a sand block. Strange as it might seem, you don’t need to buy or rent specialized tools, you can get the job done easily with basic tools, but you need to use your creativity. Work with great care and with judgement and design the birdhouse from the very beginning, otherwise the components might not fit or you might not like it after the final assembly. See all my Premium Plans in the Shop.
Made from this plan
Materials
- 6” wide wooden boards (1” thick)
- Finishing nails
- Wood glue
- Paint
Tools
- Safety gloves, glasses
- Jig saw (to cut the wooden boards)
- Hammer, spirit level, carpentry pencil, L-square
- Drill machinery with a small drill bit
- Hole saw drill bit
Tips
- Design the bird house, before starting the project
- Use quality wooden boards
- Drill pilot holes, before inserting the nails, to avoid splitting the wood
Time
- One hour
Simple birdhouse plans free
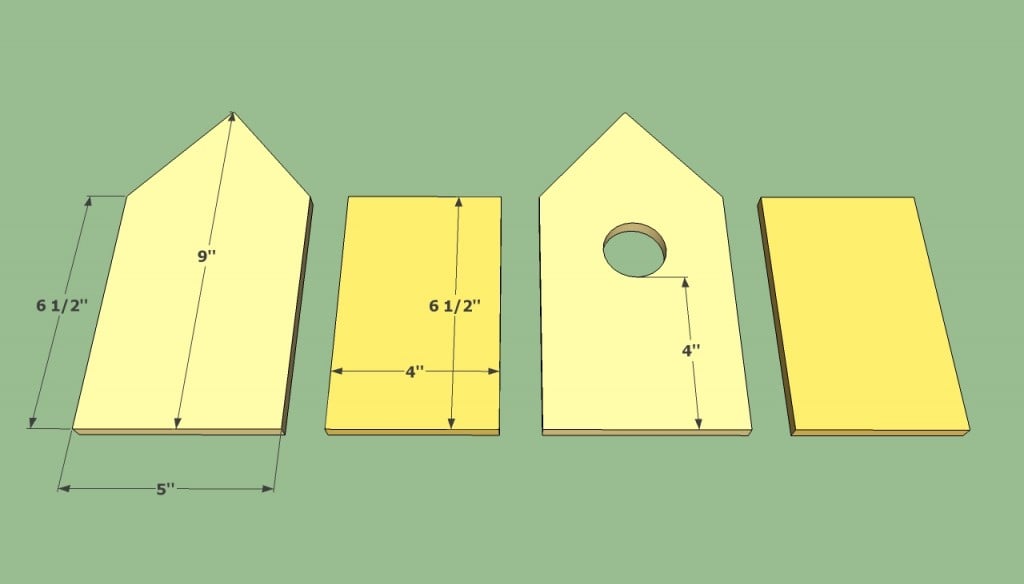
Birdhouse dimensions
Building a simple birdhouse doesn’t require many skills or expertise in working with wood, but you need to use the right plans. We recommend you to make a plan which fits both your tastes and needs, buy the raw materials (6” wide, 1” thick wooden board, finishing nails) and afterwards start your woodworking project. In the image, you can see free plans for a simple and durable birdhouse, but you should remember that you can adjust these dimensions, according to your needs.
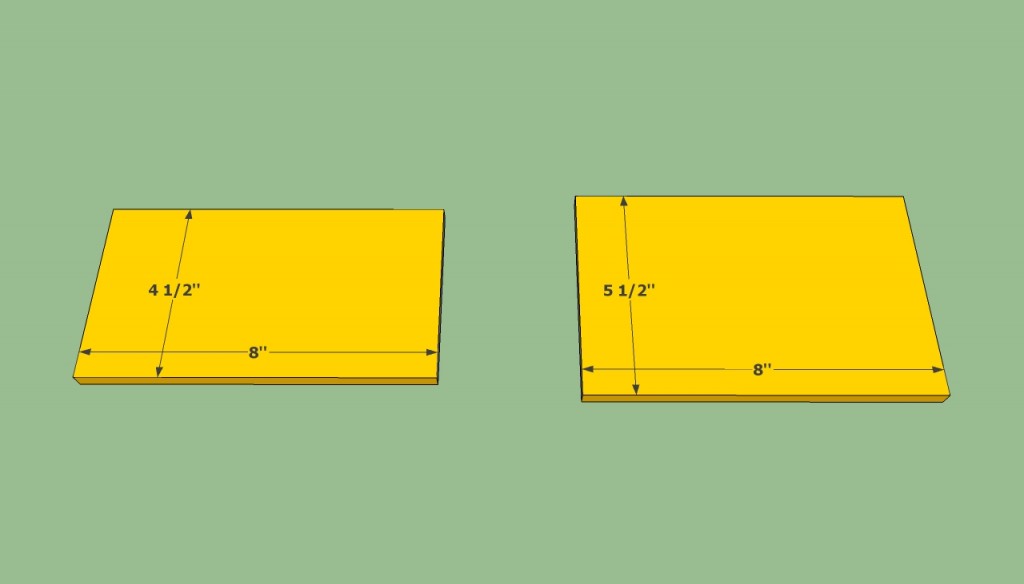
Birdhouse roof plans
In order to build a decorative birdhouse, you also need roof plans, to protect it from rain and to give it a nice appearance. As you can see in the image, the sides of the roof are not equal, as one side should cover the edge of the first one, while giving the birdhouse a symmetrical look.
Use quality wooden boards and make sure they haven’t been treated with toxic substances, if you plan to hang it in a tree.
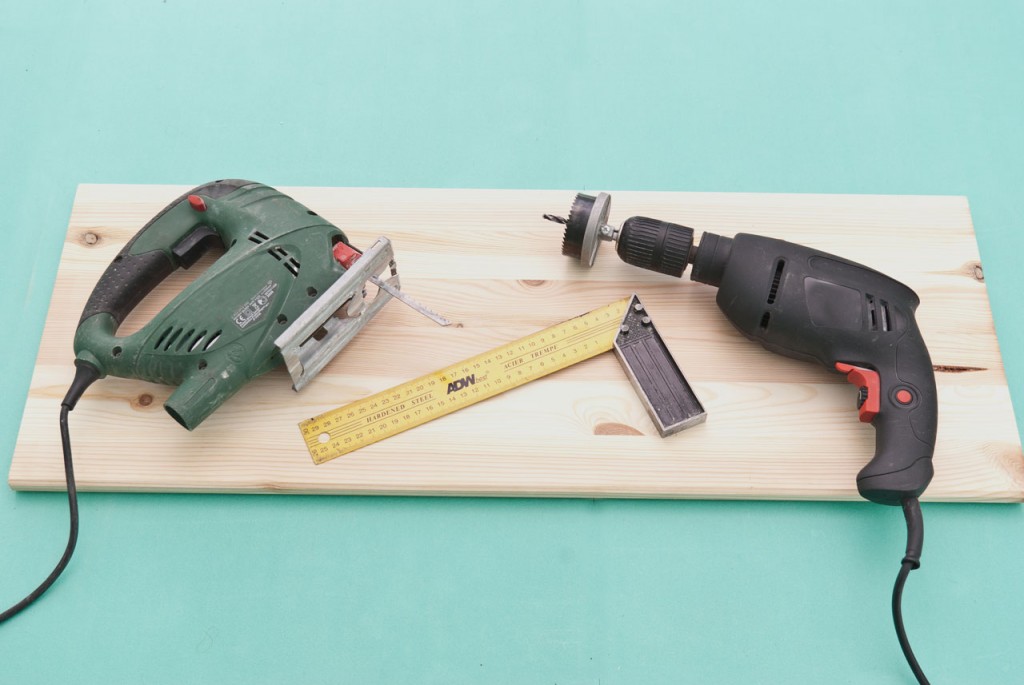
Tools to build a birdhouse
In order to build the simple birdhouse quickly and properly, you should use several tools. On one hand, you need to cut the wooden boards with a jigsaw or a circular saw (a hand saw works as well, but it will take more time). Next, you need to mark the components of the birdhouse on the wooden boards by using an L-square and a carpentry pencil.
We recommend you to work with great care and judgement, otherwise the pieces might not fit together.
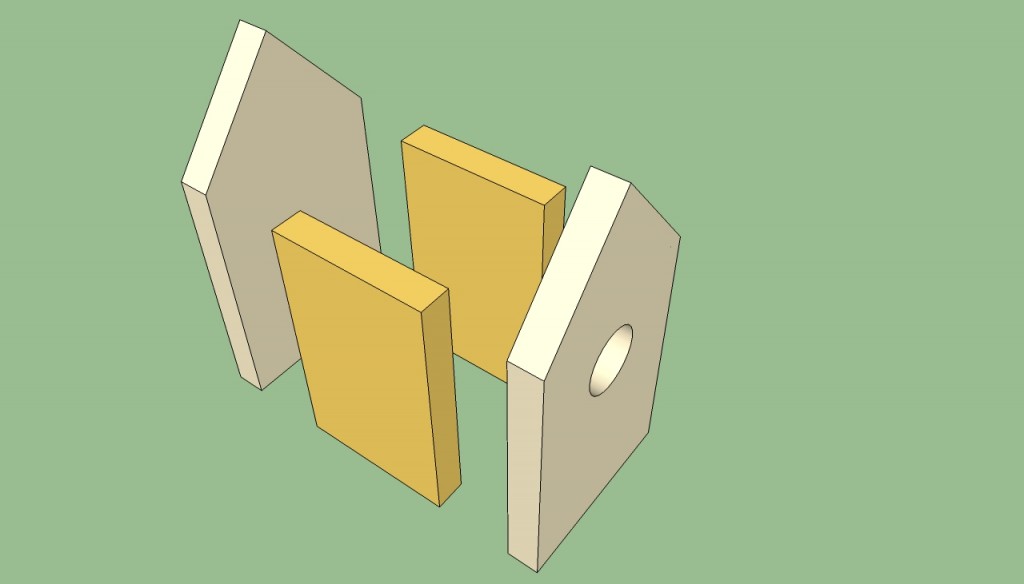
Birdhouse design plans
After you have cut the sides and ends of the birdhouse, you should check if they fit into position properly. If you use a jigsaw and have traced the guidance lines accurately, then you shouldn’t face any issues when assembling the birdhouse.
How to build birdhouse plans
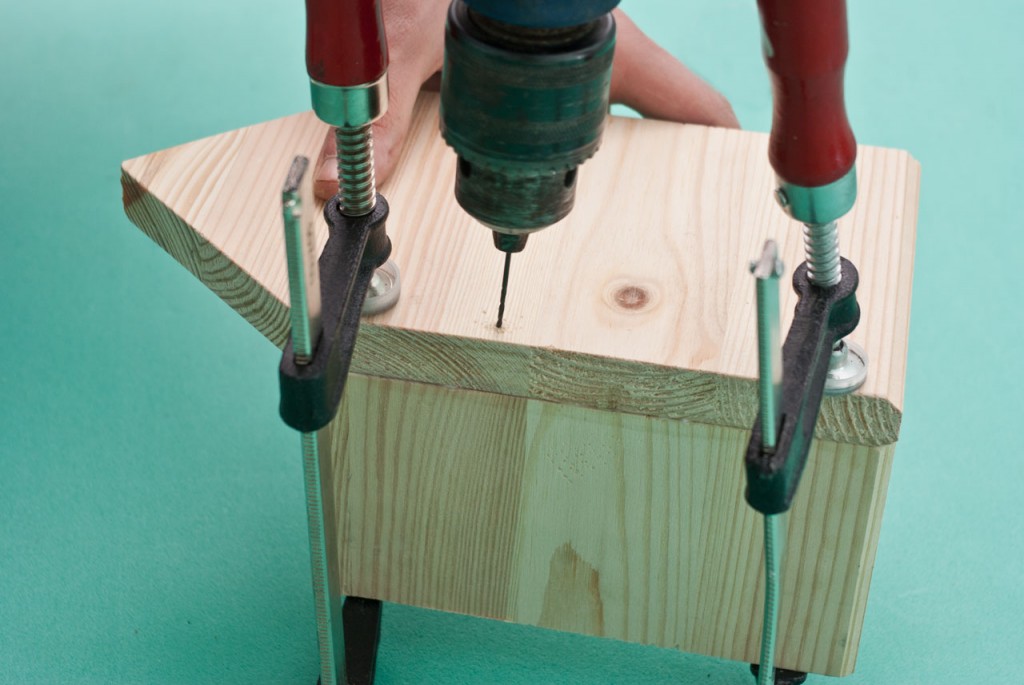
Building birdhouse plans
Before driving in the nails, we recommend you to drill pilot holes along the edges of the wooden pieces, by using a small drill bit and a drill machinery. Work with great care and leave at least 1/2” from the edges of the components to holes, to prevent the wood from splitting.
As you can see in the image, you could lock the wooden pieces into position, by using several C-clamps. In addition, we recommend you to apply a good wood glue along the edges of the sides, before inserting the nails.

Easy to build decorative birdhouse
Next, drive in the finishing nails, by using a regular hammer. We recommend you not to hit the nails with great force, otherwise you could damage the wood irreversibly. Afterwards, you should fasten the other side and lastly the rear gable end of the birdhouse.
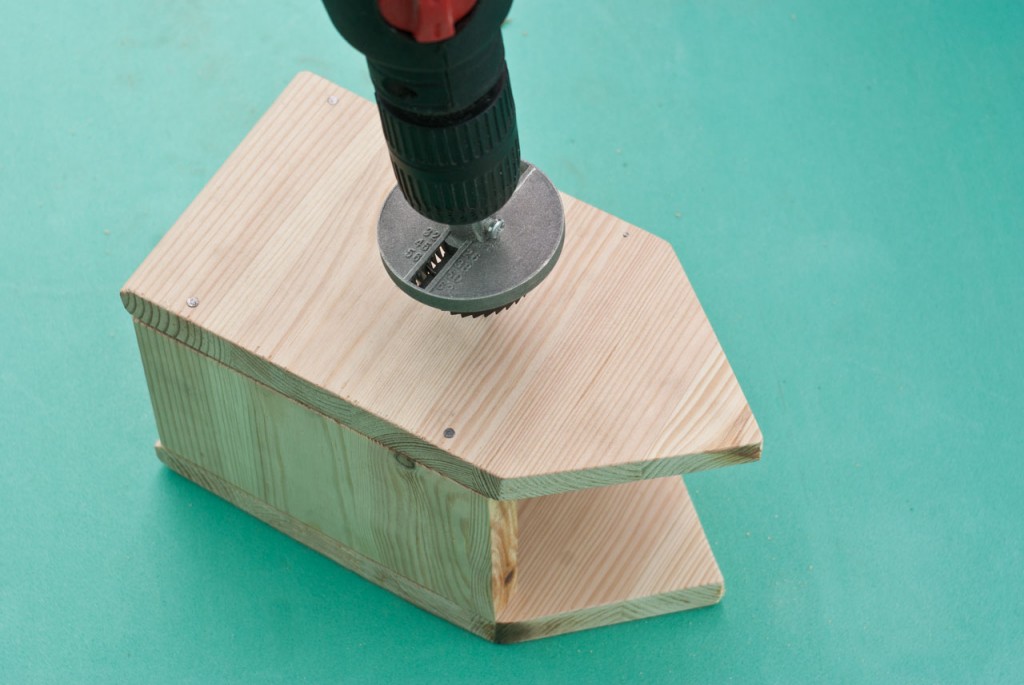
Drilling birdhouse entrance
After you have build the frame of the birdhouse, you should cut out the round entrance. From our experience, we recommend you to use a drill machinery and a hole saw drill bit, as it makes the round cut quickly and accurately.
Nevertheless, if you don’t have the hole saw accessory, you could try to drill a starting hole along the inside edges of the circle and make the cut with a jigsaw.
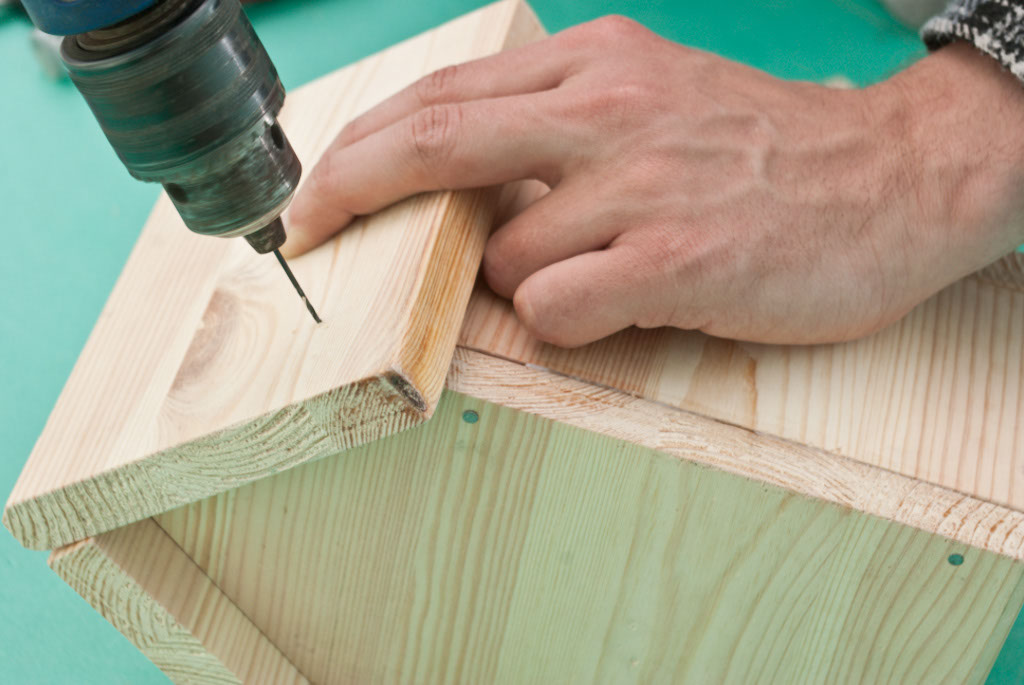
Building the roof of the birdhouse
Next, you have to install the roof of your decorative birdhouse. Therefore, using our free plans, you should cut the both sides of the roof and sand their edges with a sand block.
Afterwards, we recommend you to align each one properly and make two pilot holes in each side of the roof. Work with great care, otherwise the roof might move from position while drilling the holes. Drive in the corresponding nails in the holes, after you have checked the alignment of the roof.

Birdhouse plans free
Last but not least, you have to install the perch of the birdhouse. Therefore, you should first drill a hole about 2” below the entrance, by using a drill machinery and a large bit.
Next, apply glue in the hole and install the perch (either a small pencil or a nice twig). After you have built the birdhouse using our free plans, you could make it unique by applying several coats of paint. Last but not least, install the appropriate hardware and use a chain or wire to hang the birdhouse in a tree (6′ / 2m).
Thank you for reading our article about decorative birdhouse plans free and we recommend you to check out the rest of our projects. Don’t forget to share our articles with your friends, by using the social media widgets.

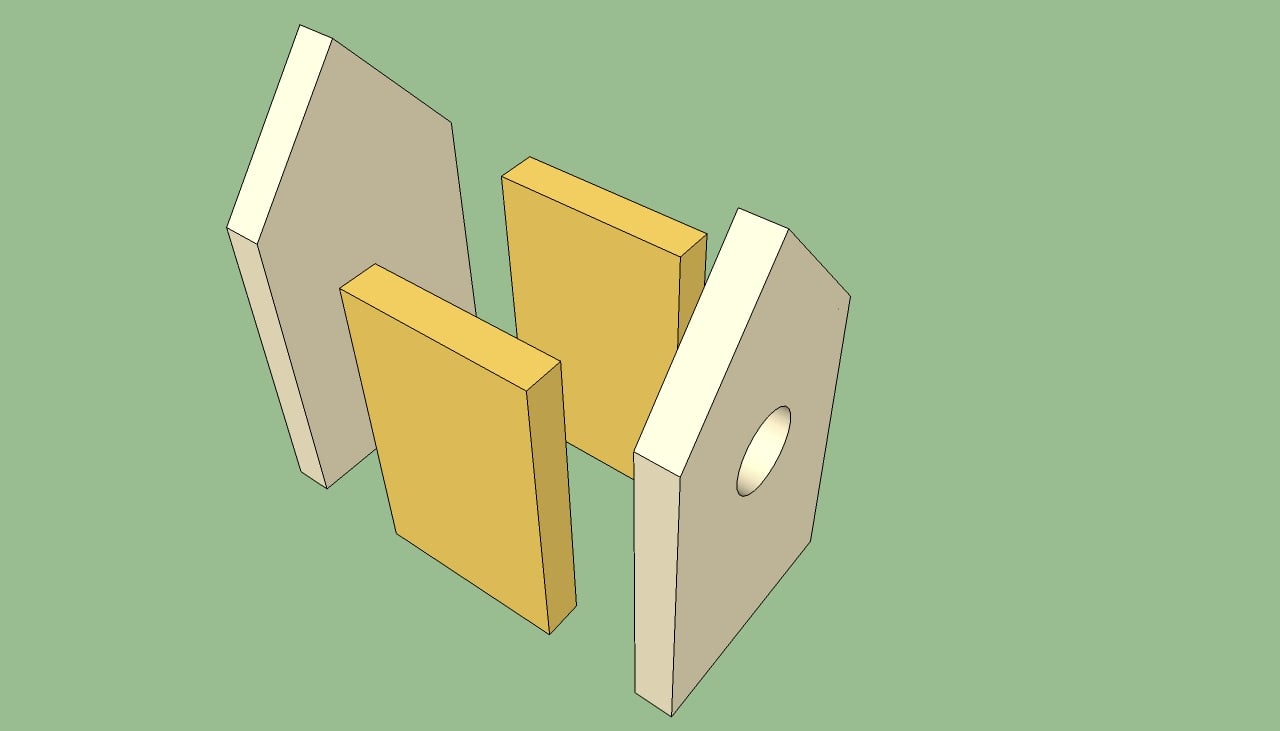

How do cut out a pyramid steeple for a church birdhouse?
I’d use a band saw.
wheres the bottom of the birdhouse.
The bottom is 4″x5″