

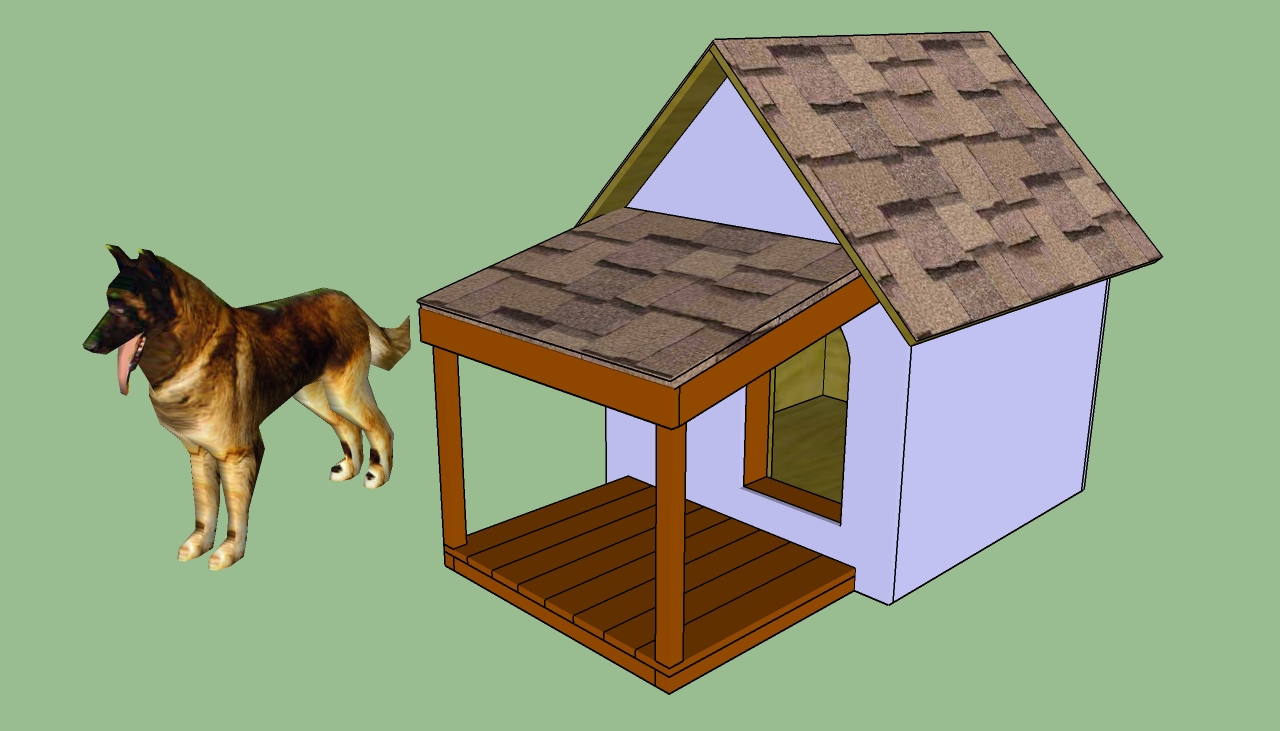
This step by step woodworking project is about how to make an insulated dog house. If you want to protect your pet from cold, you should invest in building an insulated dog house. You should adjust the size of the dog house, so that your pet should turn around easily inside the shelter. FULL PLANS for this dog house on HowToSpecialist.
We recommend you to invest in the best materials you could afford. Therefore, you should buy weather-resistant lumber, such as pressure-treated lumber, pine or cedar. Always take accurate measurements before adjusting the size of the components at the proper size. Drill pilot holes trough the components before inserting the wood screws, to prevent the wood from splitting.
Made from this plan
How to build an insulated dog house
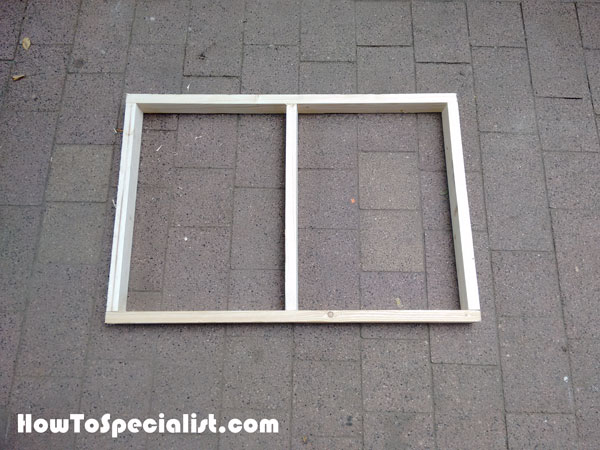
Side walls
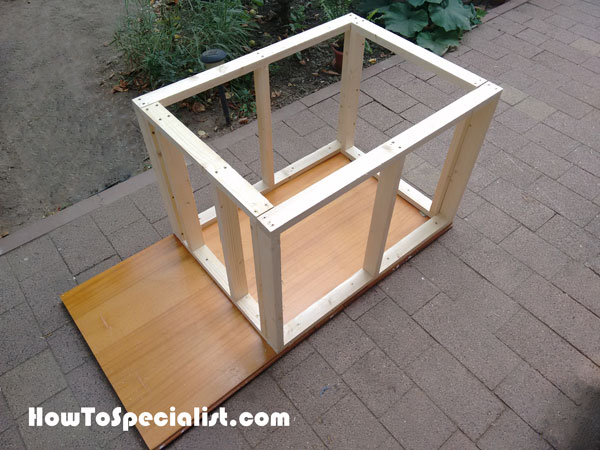
The first step of the project is to assemble the side frames. Cut the components at the right dimensions and align them with attention. Make sure the corners are square. Drill pilot holes through the plates and insert 2 1/2″ screws into the studs. See the plans for this dog house here.
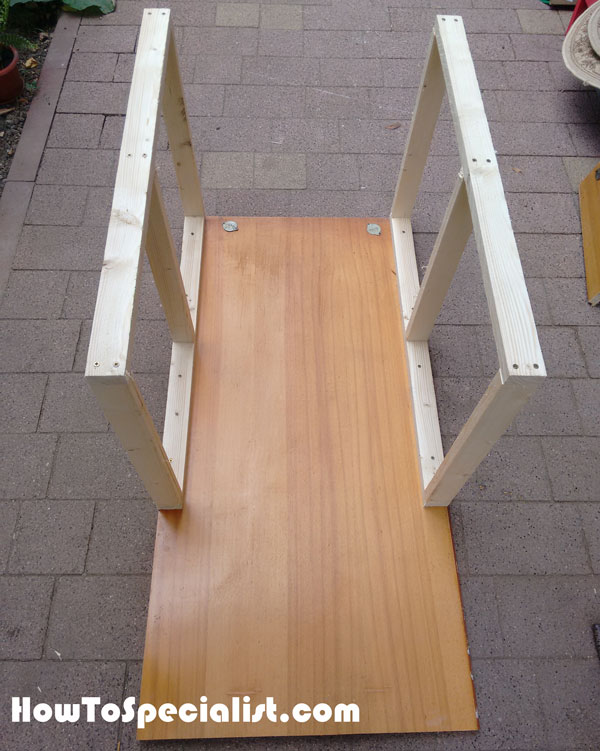
Fitting the side walls
Next, I attached the frames to the floor of the dog house. Drill pilot holes through the bottom plates and insert 2 1/2″ screws into the floor. Plumb the side walls with a spirit level to make sure they are plumb.
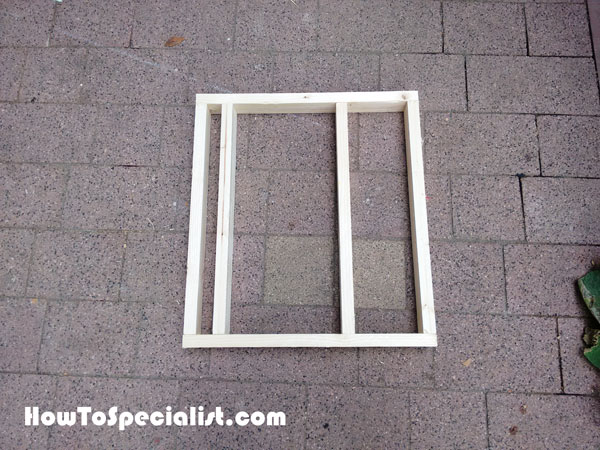
Front wall
I framed the front wall in the same manner described above.
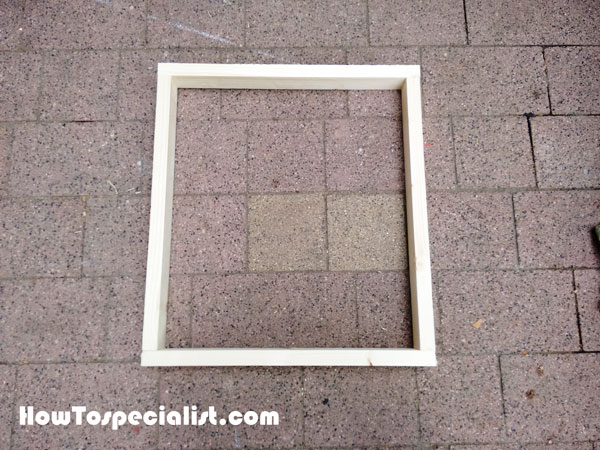
Back Wall
Assemble the back wall for the dog house. Double check if the corners are square.
Assembling the dog house
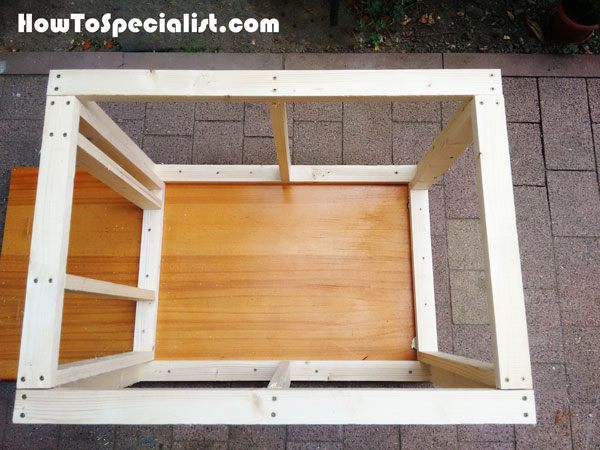
Fit the front and back walls to the frame of the dog house. Drill pilot holes and insert 2 1/2″ screws to lock the adjacent walls together. Make sure the corners are square and align the edges with attention.
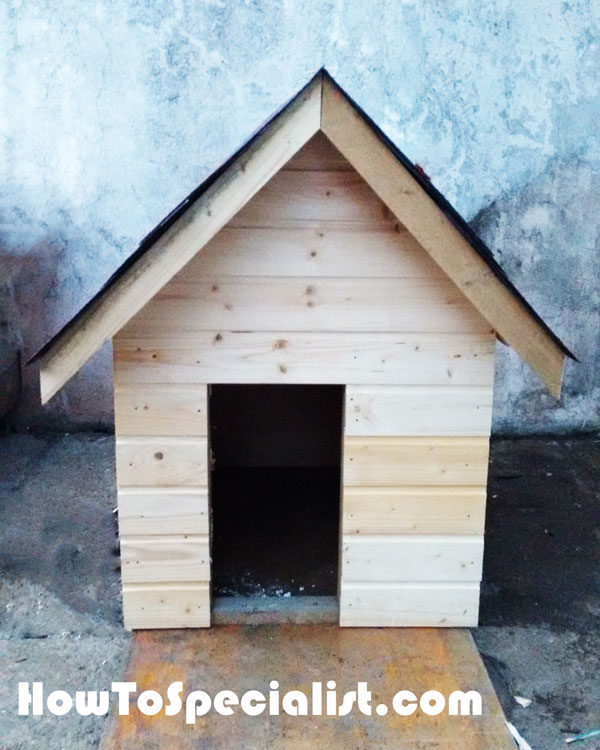
Dog House
The dog house is starting to take shape. All we are left to do is install the paneling and the insulation.
Fitting the walls
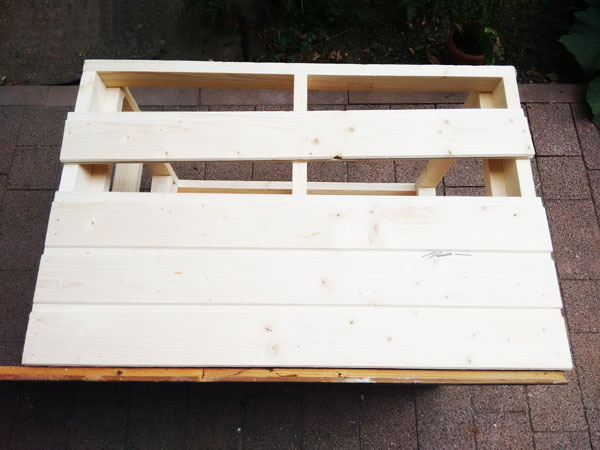
I installed 1×6 paneling slats to the sides of the dog house. Use 1 5/8″ brad nails to lock the slats to the framing. Alternatively, you can use 3/4″ plywood sheets.
DIY-Dog-house
I installed the paneling slats to the front and to the back of the dog house. The tongue and groove slats can connect easily, so you save time.
Fitting the interior walls
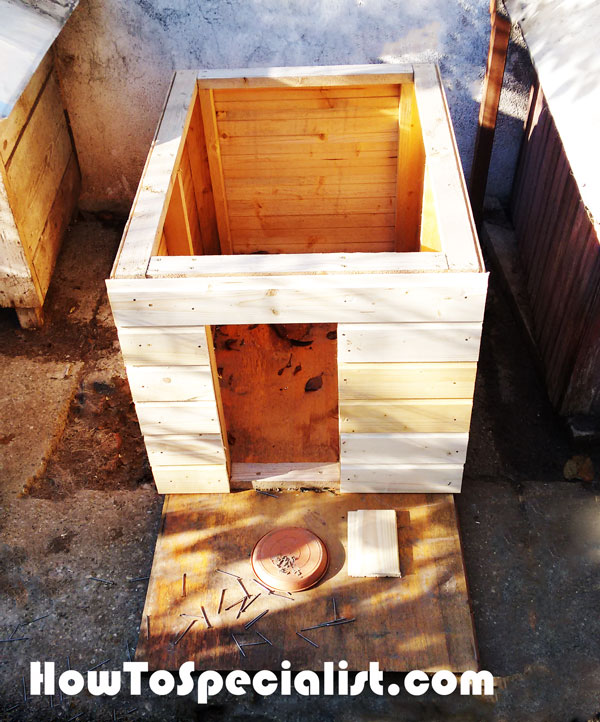
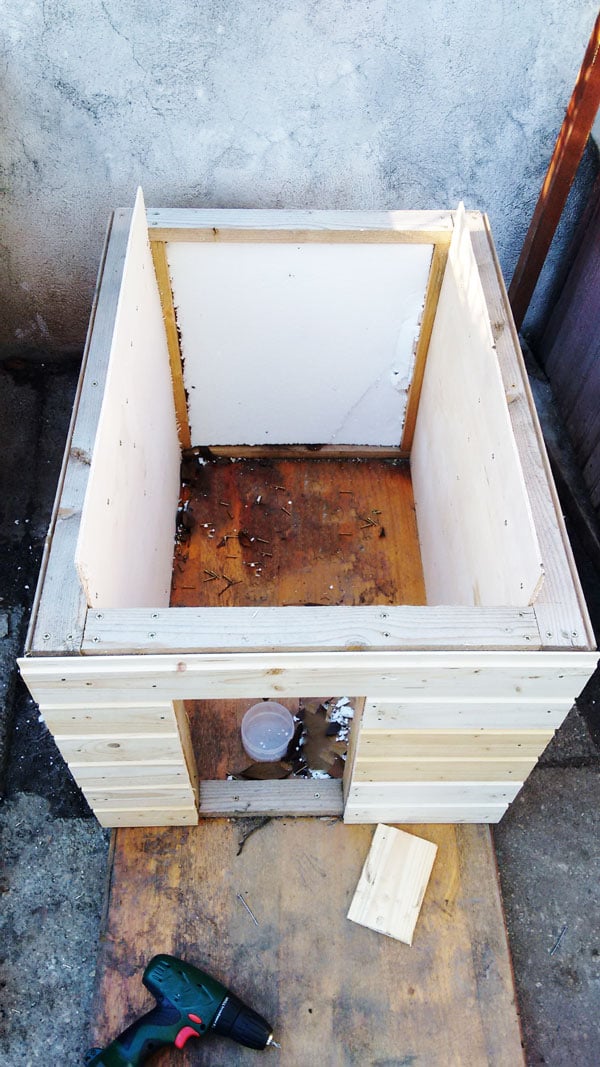
I installed 1 1/2″ rigid foam polystyrene insulation to the walls, as shown in the image. Take measurements twice and cut once.
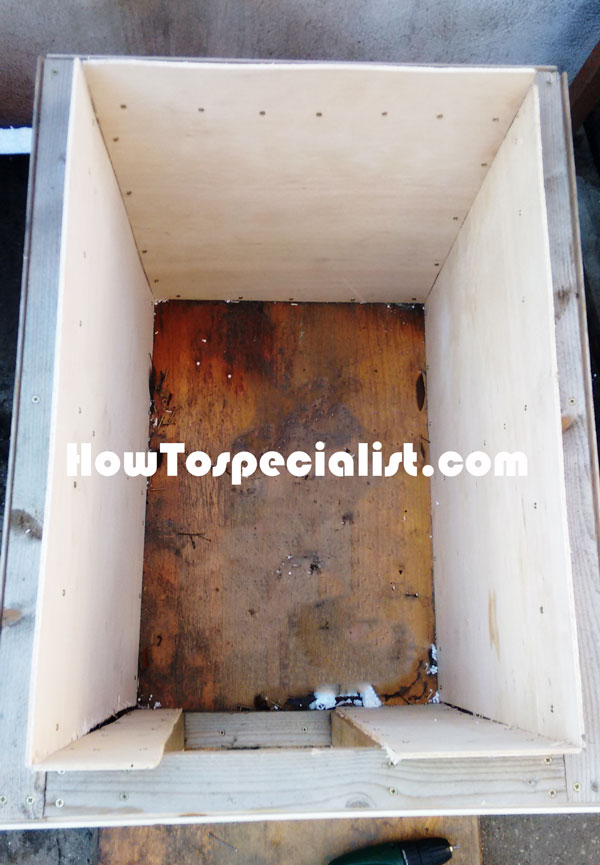
Attaching the interior walls
Next, I installed the 1/4″ plywood sheets to the interior of the dog house. Use 1 1 /4″ screws to lock the sheets into place.
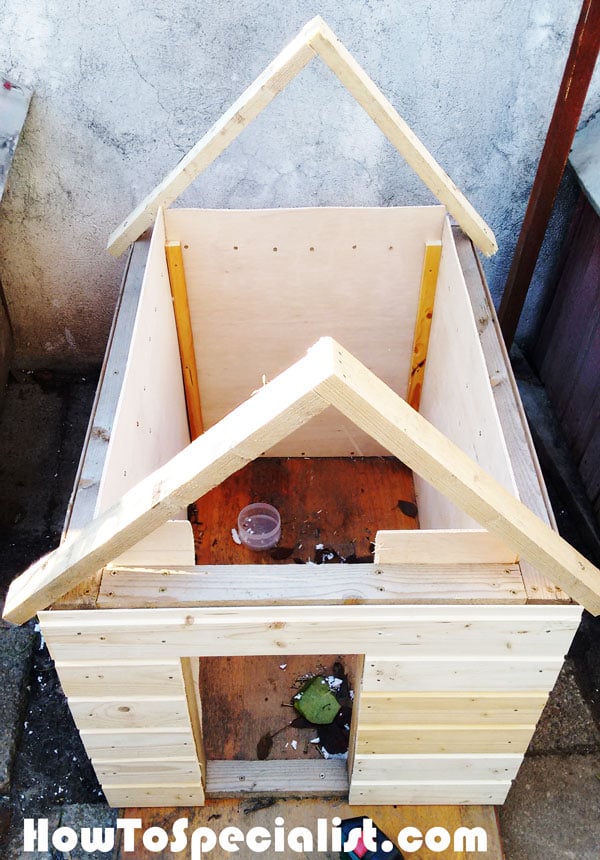
Fitting the rafters
I installed 1×1 pieces to the four corners of the dog house. Next, I installed the rafters to the top of the dog house. Make sure the top angle is 90 degrees. Drill pilot holes and lock the rafters into place with 2 1/2″ screws.
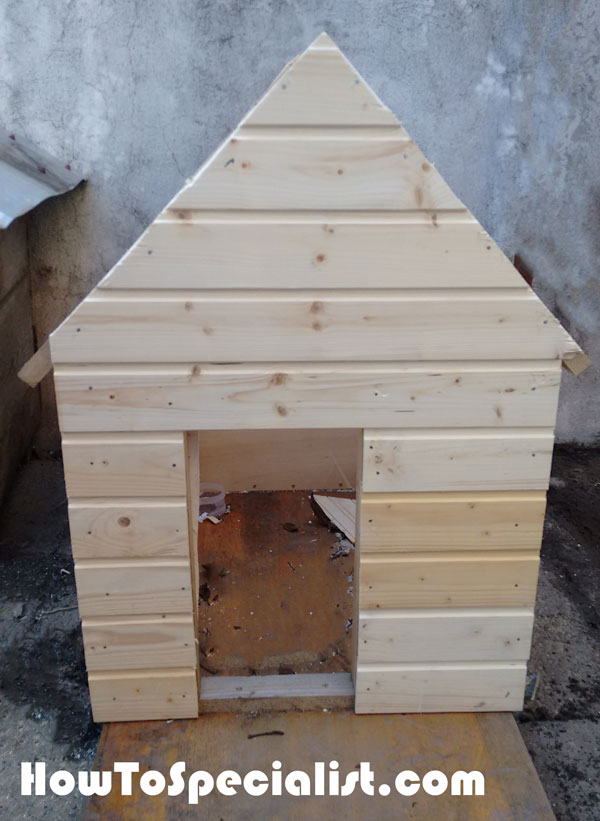
Fitting the gable ends
Attach the paneling slats to the front and to the back of the dog house. Cut the slats with a saw along the rafters.
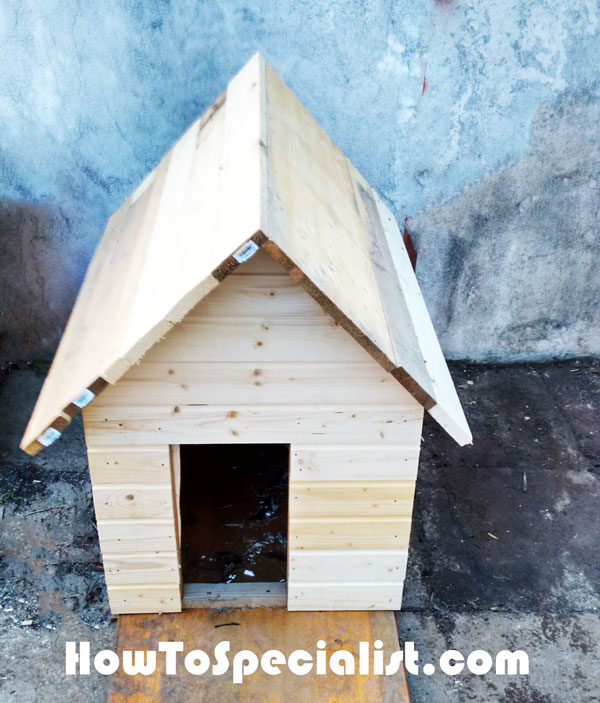
Fitting the roofing slats
I attached the 1×4 slats to the rafters. You can use 3/4″ plywood. if you want to get the job done quickly. Align the sheets with attention and lock them into place with 1 5/8″ screws.
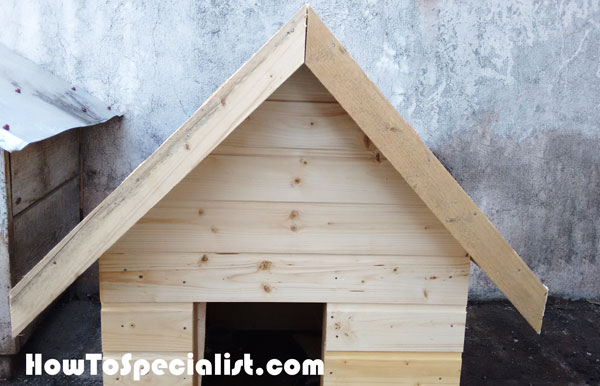
Fitting the front trims
Fit 1×2 trims to the front of the dog house. Use 1 5/8″ brad nails to lock the trims into place.
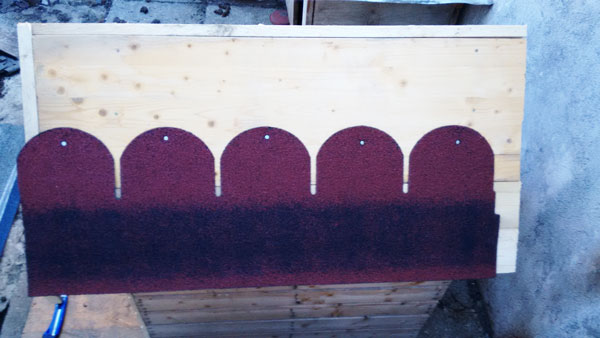
Fitting the roofing sheets
Install the asphalt shingles to the roof of the dog house.

Attaching the asphalt shingles
Fit the shingles to the roof starting with the bottom of the roof.

How to build a dog house
Install the ridge cap to seal everything tightly.
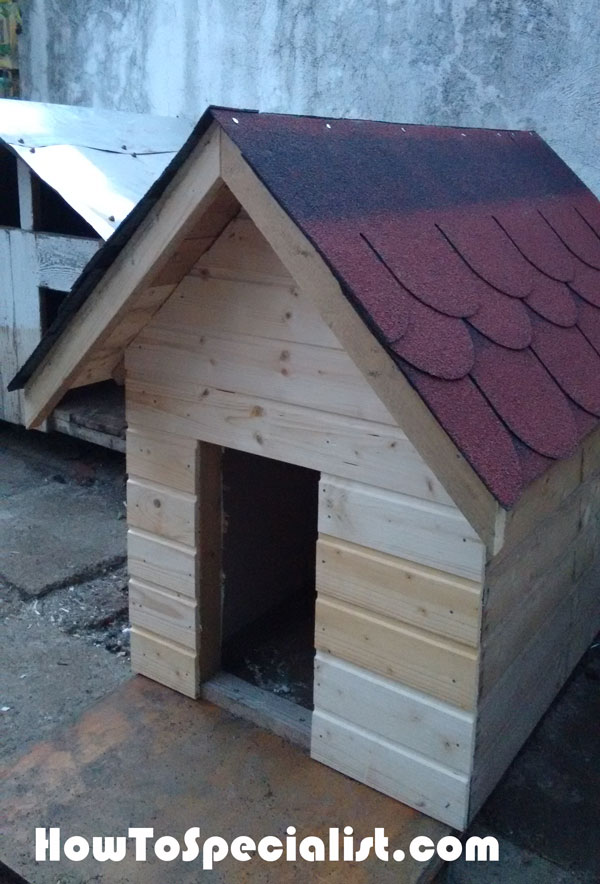
Building a dog house
Take care of the finishing touches for a professional result.
How to build an insulated dog house
Thank you for reading our project about insulated dog house plans and we recommend you to check out the rest of the projects. Don’t forget to LIKE and SHARE our projects with your friends, by using the social media widgets. SUBSCRIBE to be the first that gets our latest projects.
