
This diy step by step article is about pergola plans free. Building a large patio pergola is an easy and fun project, provided you use the right plans, tools and techniques for your needs and tastes. A wooden pergola is the perfect solution for your family, if you like spending time in your garden and want to build a basic construction very quickly.
Generally speaking, there are many designs and ideas you can choose from, but it is also essential to select the right location, use proper materials and master several woodworking techniques, before starting the actual construction. In this article about free pergola plans we show you how to build a basic pergola, along with the techniques and materials required for the job.
Nevertheless, you have to remember that it is possible to adjust its dimensions to fit your needs, while using the same carpentry methods. Installing the wooden posts, the support beams or the shade elements is easy and straight forward, if you align them in a professional manner at both ends, by using a spirit level. Go to the town hall to see the local building requirements and to get a permit, if needed. See all my Premium Plans in the Shop.
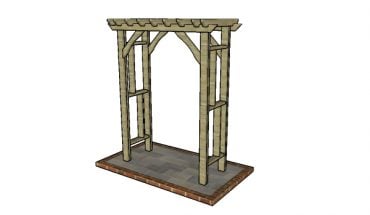
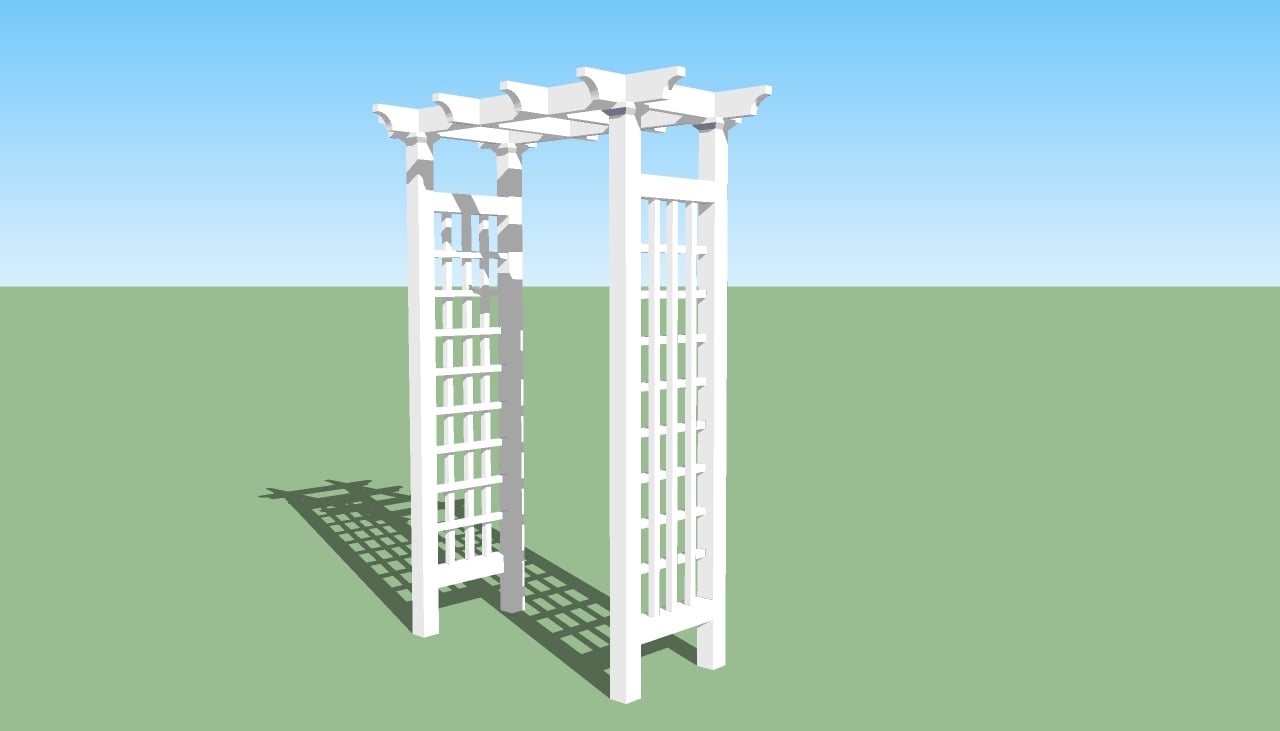
RELATED PLANS:
Made from this plan
Pergola plans free

Free pergola plans
Materials
- A – 4 pieces of 4×4 or 6×6 lumber – 132″ long POSTS
- B – 4 pieces of 2×10 lumber – 144″ long SUPPORT BEAMS
- C – 8 carriage bots – 7” long BOLTS
- D – 7-14 pieces of 2×6 lumber – 144″ or 168″ long CROSSBEAMS
- E – 4-8 pieces of 2×2 lumber – 144″ long SLATS
Tools
- Safety gloves, glasses
- Circular saw, miter saw, Drill machinery and drill bits
- Hammer, spirit level, carpentry pencil
- Ladder, posthole digger, Power mixer
Tips
- Lay out the pergola is a professional manner, using batter boards and string
- Plumb the posts using post level clips and braces (a level that reads in both directions simultaneously)
- Use adjustable post anchors to secure the 4×4 wooden posts
- Don’t buy lumber that is or it’s likely to get cracked or twisted
- Don’t over-tighten the galvanized screws
Time
- One weekend -Two workers
Pergola Building Plans

Pergola layout
First of all, you have to lay out the pergola, after choosing the place where you want to build it. In order to get the job done like a pro, we recommend you to build batter boards from 2x4s and use string, as in the image. Measure the diagonals to make sure they are equal, otherwise the corners won’t be right angled.

Anchoring the post into concrete
Generally speaking, there are many ways in which you could anchor the posts into place. On one hand, you could dig 2-3′ deep holes, pour 2” of concrete, set the posts (plumb them with a level) and brace temporarily them with 2×4 slats, before filling the hole with compound. Secondly, you could place a tube form and install the adjustable anchor in concrete, or secure a post hardware to a concrete slab with anchor bolts.

Fitting the posts
Setting the posts in concrete will give your pergola the greatest support. Dig 3′ deep holes (10-15” in diameter), pour a 3” layer of gravel and compact it thoroughly. Next, we recommend you to use tube forms, mix a small quantity of concrete (2 parts cement, 3 parts sand, 4 parts gravel and water) and pour it until you have filled the forms.

Pergola plans
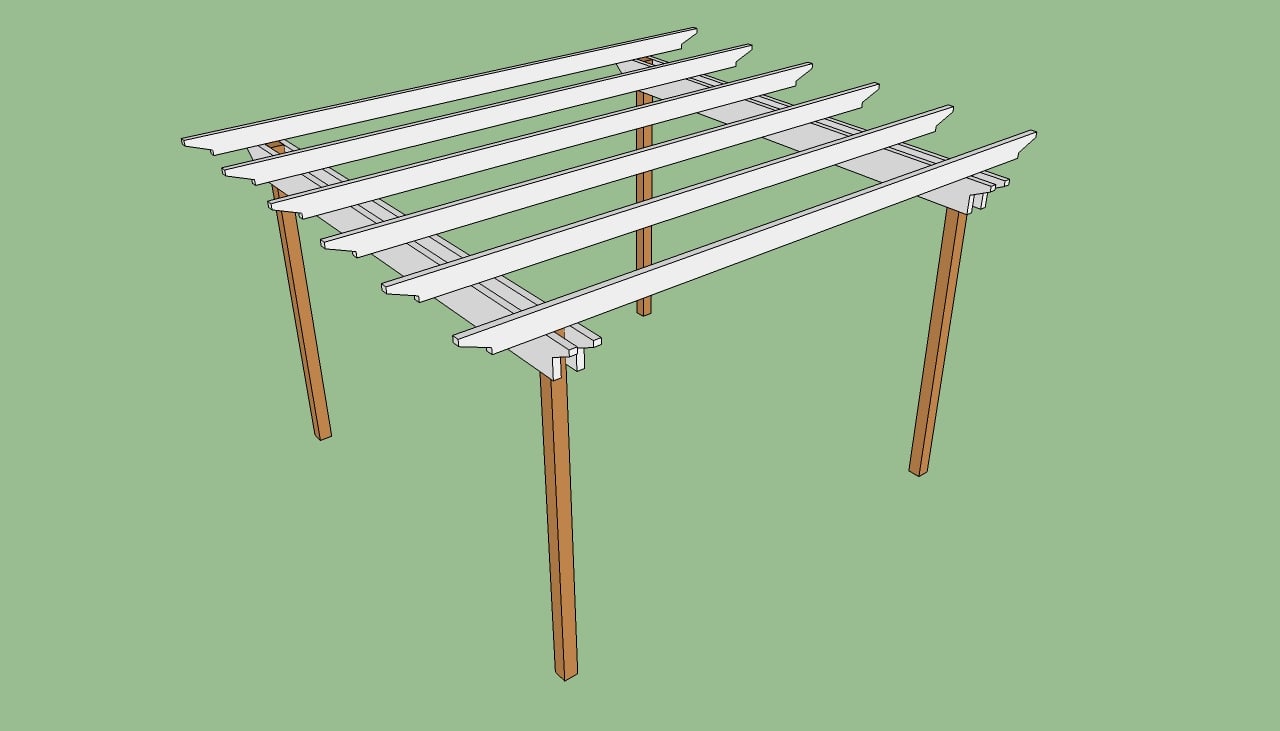
If you work by yourself, the best way to install the 4×4 or 6×6 posts into position is to brace them on two directions, plumb them with a spirit level and then drive in the screws or bolts. As you can see in the image, this project is about a 10’x10′ pergola, but you can adjust these dimensions according to your needs and tastes. Therefore, you can make it larger or even choose to build a rectangular pergola.

Installing support beams
After setting the posts into position, you should install the support beams by driving in 7” carriage bolts. In most of the cases, the support beams should be build from 2×10 timber, but you can use 2×6 or 2×8 as well. Clamp the beams to the top of the posts, making sure the edges are aligned and they are perfectly horizontal.

Pergola support beam plans
The support beams and the shade elements have decorative ends to provide a add character to the pergola. The size of the cuts should vary according to the size of the beams you use, but in our case we have used the right proportions to fit with the rest of the pergola elements.

Pergola plans
After installing the support beams on one side of the pergola, you have to proceed in the same manner for the opposite side. Work with great care when cutting the ends of the wooden boards, to obtain a neat look and design. In order to get the job done quickly and accurately, we recommend you to cut out the ends by using a jigsaw with a sharp blade. Use a spirit level to make sure the beams are aligned properly and perfectly horizontal.
Free Pergola Plans

Diy pergola plans
The next step of the diy pergola project is to install the shade elements. If you use the right plans for your needs and tastes, you will build a large patio pergola which will add value to your property and become the focus point of your backyard.

Installing shade elements
Securing the shade elements into position can be done in several ways, but you should choose the method you find the most convenient. Firstly, you could use 14′ long 2×6 beams, cut their ends as in the image, and fasten them to the support beams with screws.
Use several C-clamps or ask a friend to hold them into place, while you toenail them using 4” screws. It is essential to plumb the crossbeams with a spirit level, therefore pay attention to this step if you want to get a professional result.

Free pergola plans
The second method is to cut notches in the 2×6 boards. This technique might look complex, but it is straight forward, if you use the right techniques. Make several parallel cuts inside the marked area and remove the excess material with a chisel. Smooth the recess with fine-grit sandpaper.
Smart tip: Don’t forget that the dimension of the notches vary with the size of the posts you use. If you have installed 6×6 posts, you have to leave 5 1/2” between the notches. Afterwards, drive 6” screws through the top of the slats in the support beams, or toenail them with 4” screws.

Pergola plans free
Place the shade elements every 12″ if you want an open pergola, or every 24″ if you want to cover it with fiberglass panels. As you have seen, a pergola is a nice project for anyone who wants to create a cozy place to take dinner or to read a good book.

Free pergola plans
Next, install 2×2 slats over the pergola, to add a dramatic look to your construction. Fill the cracks, dents or holes with wood putty and sand the surface with a sand block. Afterwards, apply several coats of varnish to protect the pergola against wood decay and water damage.
Thank you for reading our article about pergola plans free and we recommend you to check out the rest of our projects. Don’t forget to SHARE our projects with your friends, by using the social media widgets. LIKE us to help us keep adding free tutorials for you.


Why can’t we print the plans for the Pergola. I have to get a permit and I need to show them to the building and safety people. Do you have printable Pergola plans 8 X 8 by 7ft
Thank you
You can print the plans or save them as a PDF file using the floating green widget on the left side of the screen (working only on desktop, not on mobile). The green widget has a printer icon.
I have no floating green widget so, how do I print ? I am on a PC>