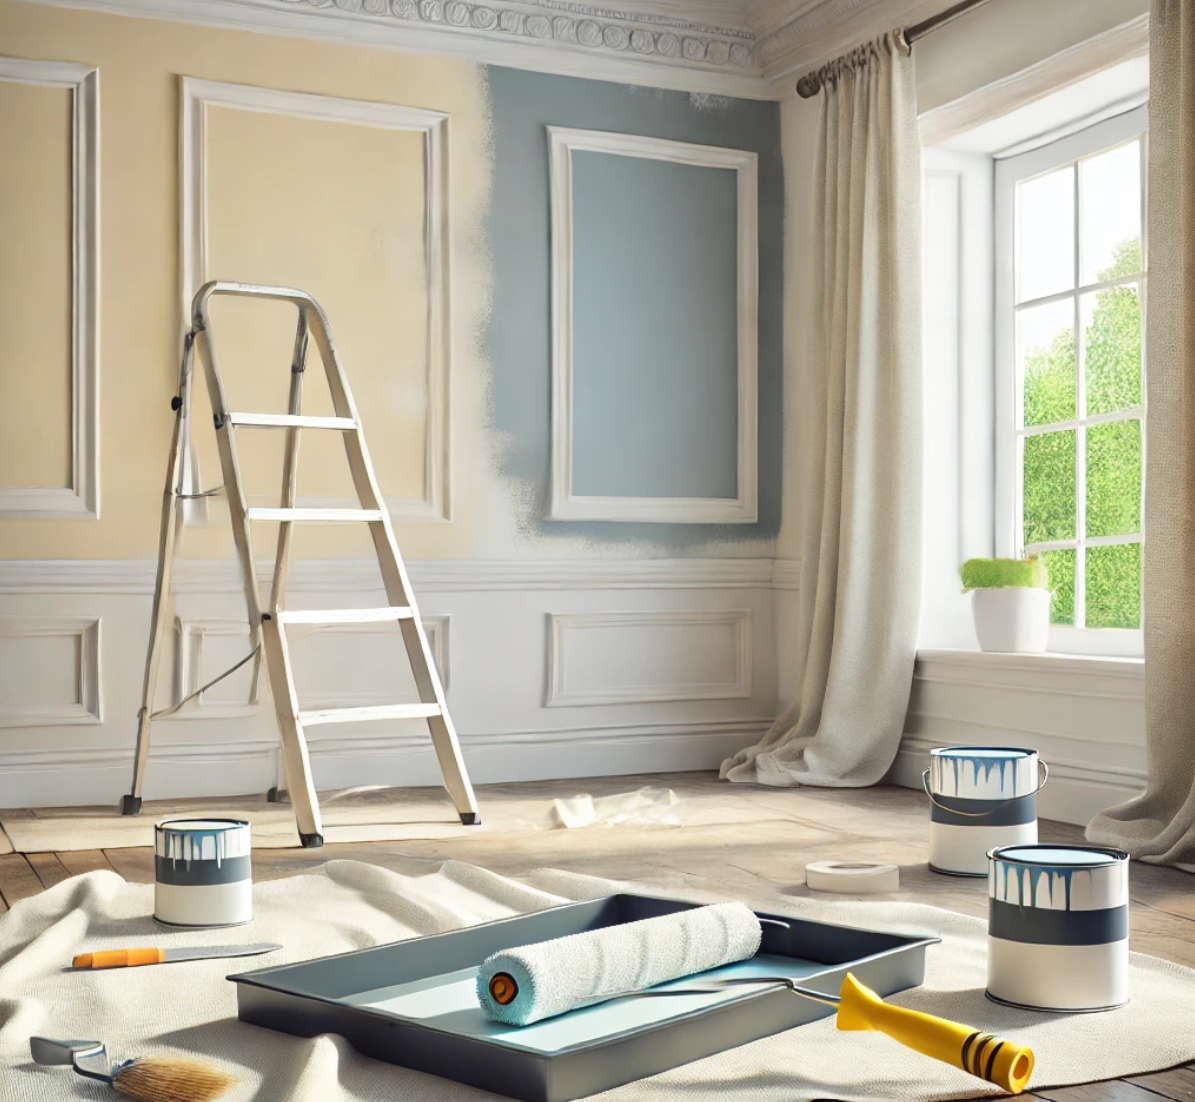
This article is about how to paint interior walls, in such a manner as to get a professional look. Although this procedure is straight forward, it will change dramatically the aspect of any interior walls. On one hand you might want to freshen up the look of your room, or you might just want to match it with your personality. Irrespective of the reason, we will show you in this diy step-by-step article the most appropriate techniques to paint the interior walls and ceiling, as a qualified professional. Before starting the actual project, make sure you thoroughly prepare the walls, otherwise the paint won’t bond to the plaster.
Tips for painting interior walls
First, you should measure carefully the area you want to paint, as to know exactly the quantity of paint you will be needing. Afterwards decide on the color you want to apply and go to your local diy store. Read carefully the paint label, as to know exactly the covering surface or the time needed to dry out.
Prepare the surface before painting it with washable. Therefore, remove the previous coats of paint using a scraper and different granulations of sandpaper, degrease the surface and repair the wall with putty, if necessary. Apply several coats of primer, as to make sure the washable paint will adhere to the wall. Do not skip this step, otherwise your coat of paint won’t be uniform over the whole surface of the room.
After you have painted the interior walls, you have to install the outlets and light switches back. Next, clean the flooring and remove the dust sheets. Last but not least, move the furniture in its place, making sure you don’t scratch the flooring.
Materials
- Primer, paint
- 120-grit sandpaper
- Paper tape
- Plastic foil
Tools
- Safety gloves, safety glasses
- Paintbrush, 2” paint roller (for corners)
- Large paint roller
- Paint pan, vacuum cleaner, bucket
Tips
- Wear some old clothes you don’t wear any more, as you will most likely get dirty with paint
- Apply a primer coat, especially if you paint the room for the very first time
- Repair all wall irregularities with drywall mud, and sand it after it has dried out
- Apply two paint coats, after you made sure the first paint layer has dried out
Preparing the room before painting the interior walls

Tools for painting a room
In this image you can see the tools we are going to use when painting the interior walls. Therefore, we need paint rollers of different dimensions and granulation (for rough textures ), a hand sander for removing wall bumps and paper tape to protect different elements of the room from getting dirty with paint. In addition we will use a paint tray.
Remove the curtains and move the heavy furnishing in the middle of the room, making sure you cover them with dust sheets.

Protecting the baseboard trim with paper tape
The next step is to protect the baseboard trim and other items from getting dirty with paint, by applying paper tape. The paper tape is cheap and it is very useful when having to mask certain items.

Sanding the wall before painting
Painting your interior walls represents a great opportunity to smoothen their surface and to remove the blemishes. In addition, you should fill the holes and cracks with drywall compound or putty, by using a small flat trowel. After the compound has dried out, you should even out the surface, by using a sand block and 120-grit sandpaper.
Next, remove the dust and grease from the walls either with a sponge or a clean fabric and an appropriate detergent. Afterwards, vacuum the floor.

Fastening the outlet cover with screws
Next, you should turn the power off from the electrical panel and remove the outlet and the light switch covers, as to be able to apply the paint coats in a professional manner.

Removing the radiator
It is also necessary to remove temporarily the radiator, as to be able to apply the paint coats on the surface behind it. Consequently, you should first turn off both valves and then unscrew the cap-nut at the end of the radiator (the one placed at the bottom of the radiator).
Next place the bowl under the joint, as to prevent water from dripping on your flooring and open slowly the valve to let the water out of the radiator. Wait until there is no water left in the radiator and then remove the other cap-nut. The last step is to lift the radiator from its brackets and drip the rest of the water left in it.
How to paint interior walls

Attaching paper tape on the walls before painting
The next step is to apply paper tape along the interior walls, if you want to paint them in two colors. Consequently, use regular paper tape and attach it to the walls, making sure it is level. Nevertheless, if you want a traditional design, you should attach the paper tape around the ceiling edges.

Using paper tape to create different areas when painting
After we have applied the paper tape on the walls, we obtained he following result. Remember that you can choose the height at which you place the paper tape, or even its shape. It is not mandatory to apply it perfectly straight, it depends according to your tastes and needs.

Painting around door jamb with a roller
The first area that you should cover with paint is the one around the door jambs. Therefore, you should apply the paint coat with a small roller, which is designed for this narrow surfaces.

Painting a line along room corners
Next, you should cut in around corners, ceiling and light switches. The best method you could use is to apply the paint with a small brush, as you have more control. Use firm strokes and strive to get straight lines.
Do not apply too much paint at once, and remember to level out any drips or heavy marks of paint, before continuing the process of painting. You should use these techniques around the windows and flooring as well. In addition, apply the paint coat as uniformly as possible.

Painting walls with a roller
After you have finished painting the wall corners and around the ceiling, you should apply the coat of paint on the rest of the surface. Consequently, use a large roller to draw vertical strokes on the wall, until you cover the hole surface. Work with good judgment, and make sure the coat is uniform and there are no visible brush marks on the painted surface. Remember that you don’t need to go too close to the ceiling, as you’ve already covered those areas.
Usually, a single layer of paint is not enough, so you have to apply minimum two coats of paint to get a proper finish. If the wall is not covered properly with paint, just wait several hours until the first coat fully dries, and then apply a new coat of paint in the same manner.

Paint coat
To get the job done quickly and in a professional manner, we recommend you top use a large roller and a paint tray. Make sure you don’t overfill the pad with paint, otherwise it would be difficult to load it on the roller (it should be around 1-3 of the tray’s volume). Role it backward forward into the paint several times and then over the top section of the tray, as to distribute the paint uniformly.
Use vertical moves to paint the surface with the roller. As you can notice in the image, the paint is starting to dry out, therefore you have to move at a decent speed, otherwise the corners will dry before painting the adjacent surface.

Removing the paper tape before the paint dries
After you have finished painting the room, you have to check again any uneven marks, drips or other residues caught in the paint layer. If necessary, use you roller and repair the issue, before the paint dries.
If you are completely sure the paint coat is properly applied, you should proceed to the final step – detaching the paper tape of the wall. Make sure the paint hasn’t dries and detach gently the paper tape, as not to damage the paint edge.

Paint a room diy
In most of the cases, it will take about a day for your paint to dry out completely, depending of the temperature in the room and the type of paint you have used.
During this period of time, it would be better to ventilate thoroughly the room, but make sure you keep it nice and clean. Therefore, any dust particles or other residues might damage the finish, so pay attention to these aspects.
My best tips on painting a room:
Painting a room is one of the easiest and most affordable ways to transform a space. Whether you’re going for a bold new color or freshening things up with a neutral tone, these tips will help you get professional-looking results without the hassle.
1. Prep the Room First
Before you pick up a brush, take time to properly prep the room. Move furniture out or cover it with drop cloths, and use painter’s tape to protect trim, windows, and outlets. Don’t forget to cover the floor with a drop cloth or plastic sheeting to protect it from paint drips.
2. Patch and Sand the Walls
Examine the walls for any imperfections, like holes or cracks, and patch them with spackle. Once the spackle is dry, sand it smooth to create an even surface for painting. Sanding also helps remove any old paint bumps or textures that might show through the new coat.
3. Choose the Right Paint and Finish
Picking the right type of paint is key to getting great results. Latex paint is a popular choice for its durability and easy cleanup. When it comes to finish, use eggshell or satin for living rooms and bedrooms, as they offer a slight sheen and are easy to clean. For kitchens and bathrooms, consider a semi-gloss finish for better moisture resistance.
4. Prime for a Smooth Finish
If you’re painting over dark colors, newly patched walls, or bare drywall, it’s important to apply a primer first. Primer helps the new paint adhere better and ensures even coverage, especially when switching between drastically different colors.
5. Cut In Before You Roll
Start by “cutting in” the edges of the room with a 2- to 3-inch angled brush. This includes corners, around windows, doors, and along the ceiling. Cutting in helps you get clean lines before filling in the larger areas with a roller.
6. Use a Quality Roller
For the main walls, use a high-quality roller with a nap size suited to your surface. A 3/8-inch nap works well for smooth walls, while a 1/2-inch nap is better for textured surfaces. Roll the paint in a W or M shape, then fill in the gaps to avoid streaks and get even coverage.
7. Apply Multiple Thin Coats
Instead of trying to cover the wall in one thick coat, apply two to three thin coats for the best finish. Thick coats can lead to drips and uneven texture. Let each coat dry completely before applying the next.
8. Keep a Wet Edge
When using a roller, it’s important to maintain a wet edge—this means you overlap each stroke slightly with the last one before the paint dries. This technique prevents lap marks, where dried edges create visible lines on the wall.
9. Remove Painter’s Tape While Wet
Once you’ve finished painting, remove the painter’s tape while the paint is still slightly wet. This helps you avoid peeling off any dried paint along with the tape, leaving you with sharp, clean lines.
10. Clean Up Properly
Clean your brushes, rollers, and trays right after you’re done to prolong their life. If you used latex paint, soap and water should do the trick. If you used oil-based paint, you’ll need mineral spirits for cleanup.
Bonus Tip: Test Your Colors Before committing to a paint color, test it in a small area on the wall. Paint swatches can look very different under your room’s lighting, so testing helps ensure you’re happy with the final result.
By following these tips, you’ll be able to paint any room in your home like a pro. With the right prep, tools, and technique, you can transform your space in just a few simple steps.
Thank you for reading our article on how to paint an interior room, and we recommend you to check out the rest of our articles. Please share our projects with your friends, by using the social media widgets.