
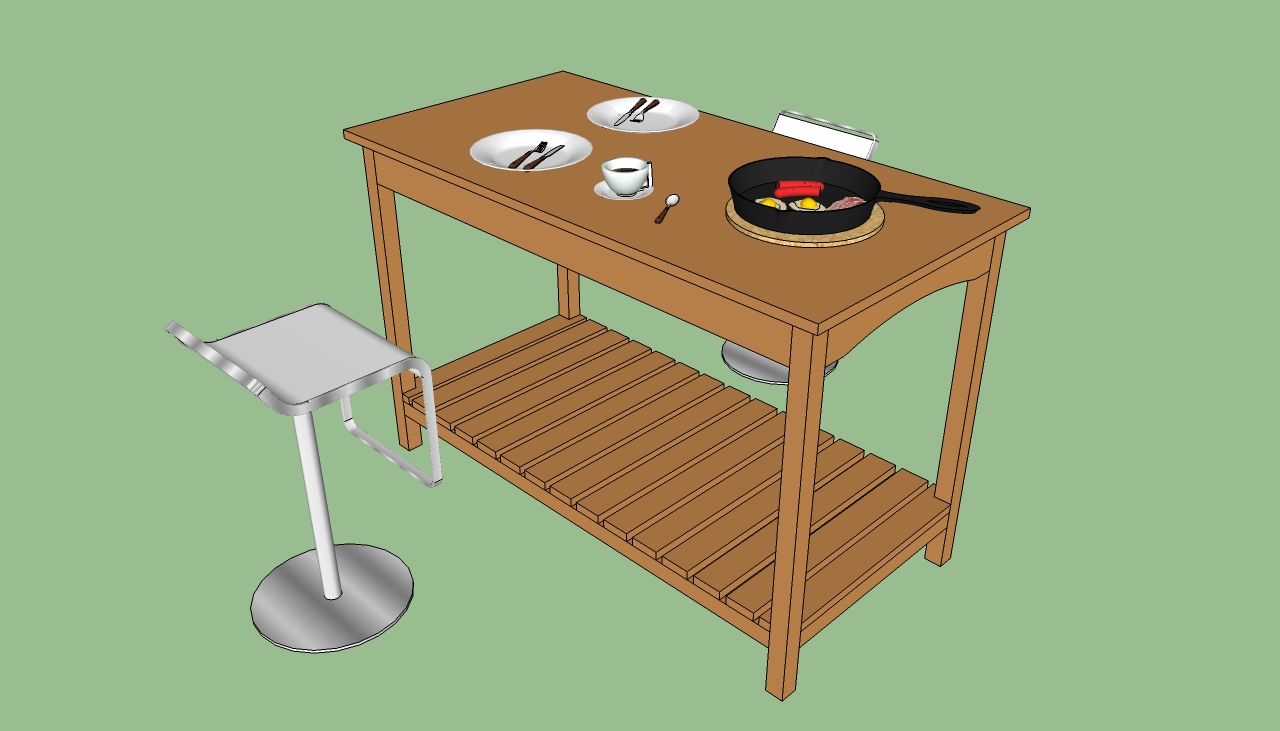
This step by step diy article is about how to build a wooden kitchen island. If you want to make your kitchen cozy, we recommend you to make the central island have the a simple shape and use durable materials. Building the components from hardwood, rather than laminate will make then resistant against warping. You could adjust the size of the table according to the dimensions of your kitchen.
Buy quality lumber even if this is a small project, as you need to build a durable kitchen island. Make a list will all the materials required for the project and buy them from the store that makes you the best offer in terms of price and quality. Redwood, cedar or pine boards are good choices for any woodworking project, as they are resistant materials and have an exquisite look. Choose only the boards that are straight and in perfect condition.
Pre-drill holes in the wooden components before inserting the screws, in order to prevent the wood splitting. Align the components at both ends and plumb them with a spirit level, before driving in the 1 1/4” screws. Add wood glue to the joints, to enhance the bond of the components. Work with good judgement and attention, to avoid costly mistakes that may arise during the project. See all my Premium Plans in the Shop.
Made from this plan
In order to build a small kitchen island, you needs the following:
Materials
- 4 pieces of 2×2 lumber – 30″ POSTS
- 3 pieces of 2×4 lumber – 19″, 2 pieces – 43″, 2 pieces of 2×2 lumber – 43″, 2 pieces – 19″ STRETCHER, SUPPORTS, APRONS
- 15 pieces of 1×3 lumber – 22″ BOTTOM SHELF
- 1 piece of 3/4” hardwood plywood veneer – 2’x4′ TABLETOP
- 1 1/4” wood screws – SCREWS
- Wood glue
- 2 pieces of 2×2 lumber – 10 ft
- 2 pieces of 2×4 lumber – 8 ft
- 1 piece of 3/4″ plywood – 2’x4′
- 4 pieces of 1×3 lumber – 8 ft
- 1 piece of 3/4” hardwood plywood veneer – 2’x4′
- 2 1/2″ screws
- 1 1/4″ screws
- glue, stain
- wood filler
Tools
- Safety gloves, glasses, Miter saw saw, jigsaw
- Chalk line, tape measure, spirit level, carpentry pencil
- Drill machinery and drill bits
- Router, 1/4” round bit, Pocket hole jig
Tips
- Pre-drill holes in the wooden components, before driving in the screws
- Smooth the exterior edges of the components, by using a router with a 1/4” bit
Time
- One weekend
Building a simple kitchen island

Building a simple kitchen island
Building a kitchen island shouldn’t be always a complex project that can be done only by professionals. On the contrary, in this step by step article we will show you how to build a small table from lumber and using just common tools.
How to build a wooden kitchen island

Buidling the posts
First, build the legs from 2×2 lumber. Choose perfectly straight lumber, otherwise the island won’t have a neat look. Measure the lumber at the appropriate size and make a mark using a carpentry pencil and a L-square. Cut the lumber using a miter saw or a circular saw.

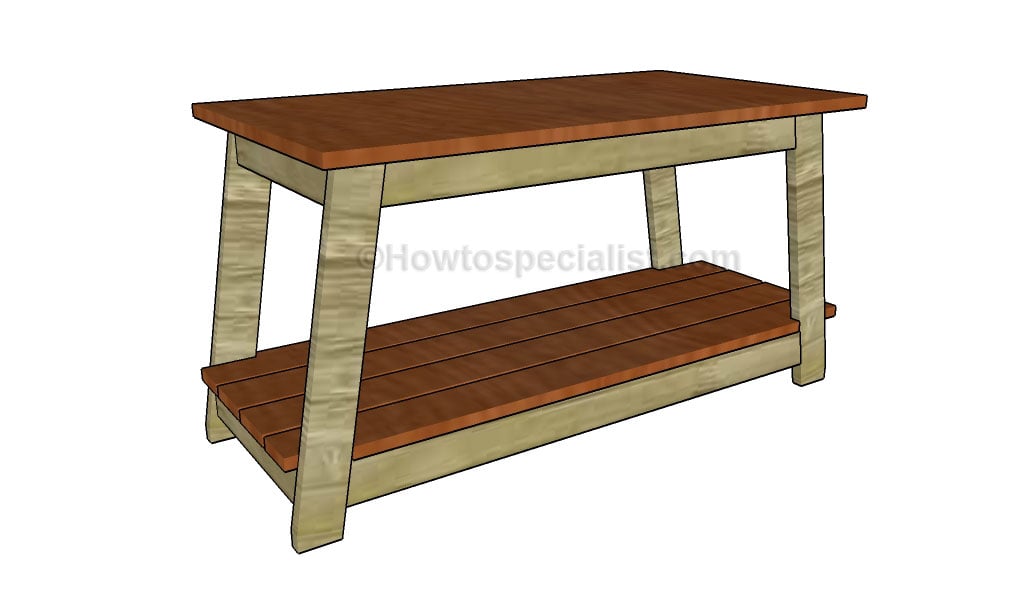
Installing the aprons
Continue the project by locking all the legs together with 2×4 aprons, wood screws and glue. As you can see in the image, you should build the aprons and drill pocket holes at both ends of the components, using a jig.

Installing the base brackets
Proceed in the same manner described above, until you fit all the four aprons. Use a spirit level to plumb the components, before driving in the wood screws. Afterwards, you have to install the supports for the bottom shelf, by drilling pocket holes and inserting the 1 1/4” screws.
Level the 2×2 components using a hand level, otherwise the bottom shelf won’t be horizontal. Leave about 6-8” from the ground to the supports.

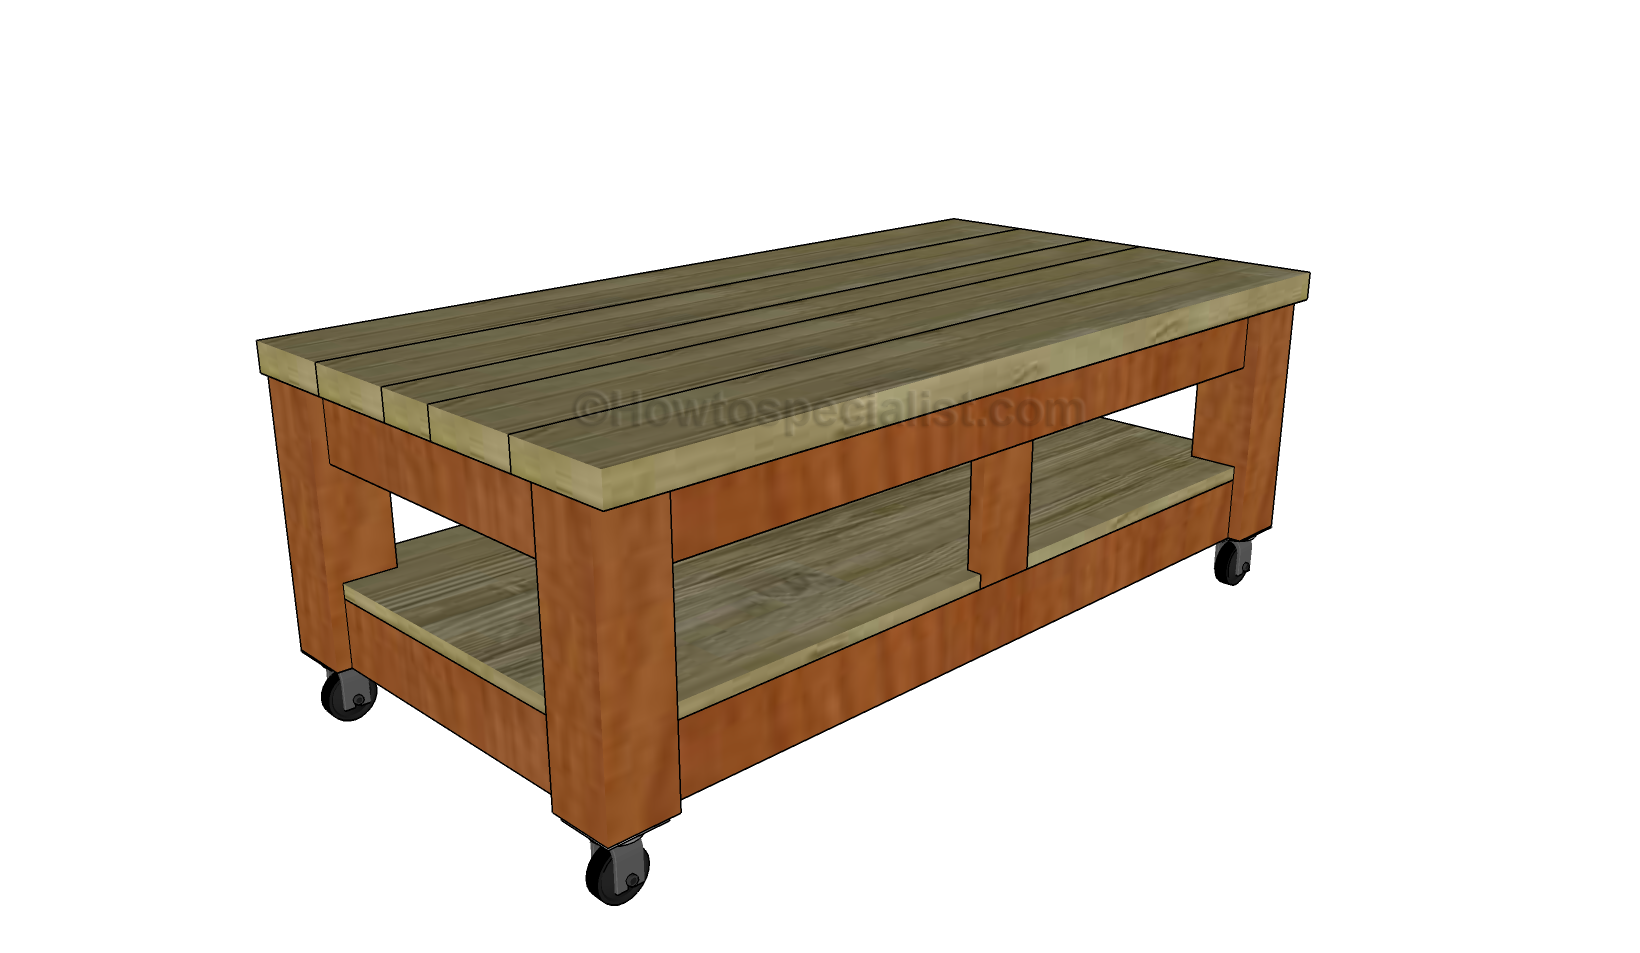
Building the bottom shelf
The next step of the project is to install the bottom shelf’s slats, as in the image. In order to get the job done quickly, we recommend you to build the slats from 1×3 lumber. Drill pilot holes in the components and lock them into place with 2” screws. Don’t forget to countersink the head of the screws.

Attaching the top of teh island
After building the frame of the wooden kitchen island, attach the top shelf. You could build the table top from hardwood veneer plywood, MDF or even wooden slats. Irrespective of your choice, center the panel, leaving about 1” on each side, and lock it into place with finish nails and wood glue.
Drill pilot holes over the legs and insert 2” wood screws, after you countersink their heads. Make sure the small kitchen island is symmetrical.

How to build a wooden kitchen island
The last step of this simple project is to take care of the finishing touches. Therefore, fill the head of the screws with a good wood filler and let the compound to dry out properly for several hours.
Thank you for reading our article about how to build a wooden kitchen island and we recommend you to check out the rest of our projects. Don’t forget to share our projects with your friends, by using the social media widgets.
